Showing posts with label Honey Bee Stamps. Show all posts

Wednesday, July 31, 2019

You Are Pawesome!


Hi, and welcome! My inspiration for today's post was literally these two cuties laying on my desk. I had colored the images back during the 30 Day Coloring Challenge, and I'm just now using them. I was having so much fun; I decided to make a few more. I have a video tutorial below and walkthrough for anyone who is not a fan of videos. Some affiliate links are listed below. 


VIDEO TUTORIAL


WALKTHROUGH


Stamp images onto #80 Neenah Classic Crest Solar White cardstock using Memento Ink - Tuxedo Black

Color images using Copic markers. 
Note - I made four cards, two of each. 

Flowers - Y02, Y04, Y06 
Center - YG61, YG63, YG67
Leaves YG61, YG 63, YG 67
Bee - Y13, Y15, Y17  and N9, N7, N5, N2 for face
B00, B01 for wings

   
Flowers - C1, C2, C3
Center - YG23
 Leaves YG21, YG23
Bee - Y13, Y15, Y17  and N9, N7, N5, N2 for face
B00, B01 for wings


Die-cut all the images. 


Mask off #110 card base and lightly blend SSS Audrey Blue onto the card base. 


Stamp three hearts from the Busy Bee Stamp Set in the upper left corner of each card using Memento Ink in the color Tuxedo Black because I will be coloring the hearts. I then take one of the flower stems and use it to stamp a border around the cards using Versafine Onyx Black ink. 

Adhere all the colored images to the card base using 3D mounting foam. 

Stamp the bees buzz line and adhere bee. 


Stamp sentiments. 


Finish off with clear glitter enamel dots. 


Thanks for joining me.
 I hope you are inspired enough to head to your crafty space and create something amazing today! 
Be sure to head over to the website and become a subscriber, so you have access to my videos before they are published to the public. Did you know that every time I send an email to my subscribers a name is picked from my active subscribers to win a little something? 

www.lisamensing.com


Be sure to follow me on 

Tuesday, July 16, 2019

Faux Shaker Gate-fold Card


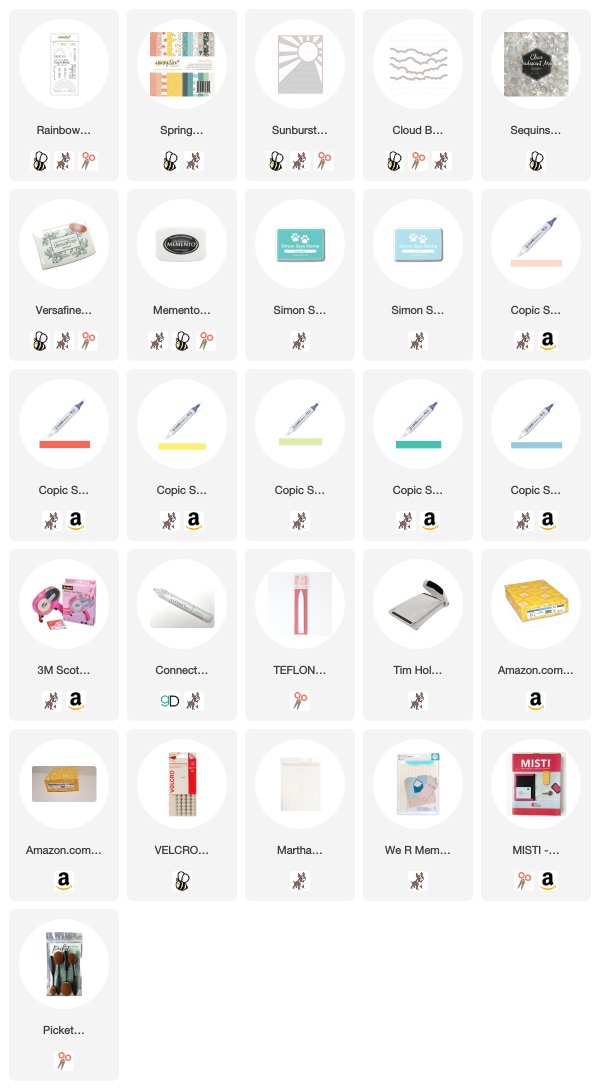
Hi and welcome! Today I'm sharing a Faux Shaker Gate-fold card, that's a mouth full. This card is super simple. Over on the Honey Bee Stamps Facebook Page - Buzzworthy Challenge it's all about the patterned paper, and I do love me some patterned papers. And as luck would have it, I purchased the Honey Bee Stamps 6x6 Paper Pads a few months ago. Hello, there's my sign, right?  I've linked the Buzzworthy Challenge page just in case you want to join in the fun. Now, let me tell you how easy this card is to make. 

HOW-TO

  • Create gate-fold card using 5.5" x 8.5" piece of cardstock score 2 1/8" and 6 3/8" 
  • Create a stenciled ink-blended background; die-cut scrap paper with the Honey Bee Stamps Cloud Borders; using ink of your choosing and blender brushes, ink blend a 4.25" x 5.5" card panel; cut in half with paper trimmer heightwise (vertical); adhere to the front of gatefold card using Gina K Connect glue.

  • Die-cut patterned paper from the Spring Fling paper pad using the Honey Bee Stamps A2 Cover Plate Sunburst; cut in half using paper trimmer heightwise (vertical)
  • Add 3D mounting to the back of Sunburst and adhere to ink-blended cloud background.
  • Stamp the rainbow from Rainbow Wishes Stamp set along with the sentiment; die-cut sentiment and fussy cut rainbow; color rainbow with Copics in the colors R08, R02, Y15, BG18, B93; add mounting foam to the back (right-side only) of the rainbow and adhere to right flap of gate-fold card; add a small velcro circle to left side of rainbow and left flap of the card to help keep closed (optional); adhere sentiment to rainbow.

  • Cut one piece of patterned paper from the Spring Fling paper pad to 4"x 5.25"; adhere to the inside of the card; stamp a sentiment or leave blank for a handwritten message.
  • Cut two pieces of patterned paper from the Spring Fling paper pad to 2' x 5.25"; adhere to inside flaps. 


As always, thank you for taking the time to join me. 


Be sure to follow me on 


Monday, July 15, 2019

Rainbow Balloons

Follow my blog with Bloglovin


Hi and welcome! How many nesting die sets do you own? And how often do you use the largest die in those sets? I was determined to start using those dies for my cards. The answer staring me in the face this whole time. If I die-cut one 6x6 piece of paper with a large die then cut it down the middle, I could not only use my large dies, but I could get two cards out of that one cut. 


I have a short video that walks you through the process of the "Rainbow Balloon" cards below.


Walk Through

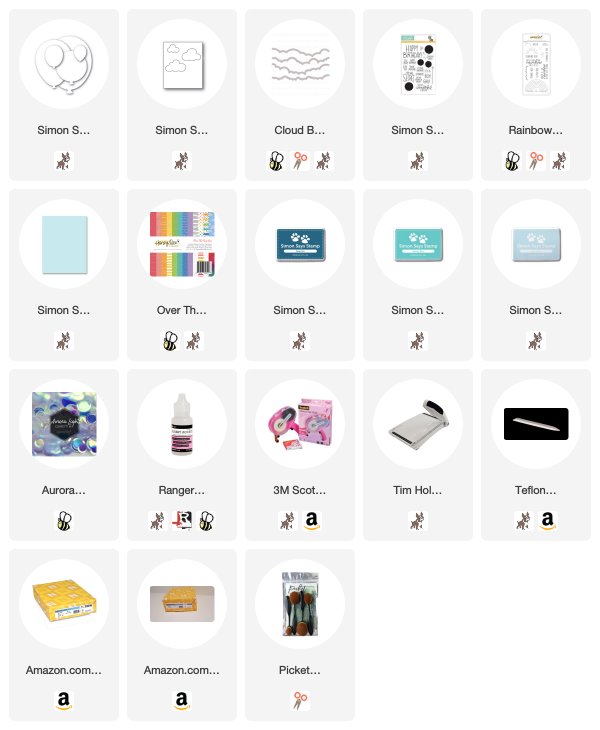
  • Die-cut patterned paper using large balloon die (it can be any large die you have), cut in half (long-length) with a paper trimmer.


For the balloon cards, I created an ink-blended background of clouds.
  • Place a stencil on a 4.25" x 5.5" card panel, add ink to blender brush(tool), with light pressure start applying the ink. I swiped the blender brush in an upward motion because this is printer paper and circular motions will bend the edges of the printer paper. I used Simon Says Stamp Ink in the colors Deep Sea, Audrey Blue, and Sea Glass. Die-cut or use your paper trimmer to cut the card panel down to 3.75" x 5." 
  • I created a stencil using the Honey Bee Stamps Cloud Borders Dies and printer paper.
  • Stamp Hugs, Kisses and Rainbow Wishes on one panel and Happy Birthday on the other making sure to stamp one on the left side and the other on the right side, the balloons will be on the edge of each card.
  • Die-cut or use a paper trimmer to cut  Sea Glass Cardstock to 4" x 5.25"; layer ink-blended backgrounds onto using a tape runner, adhere layered pieces to a 4.25" x 5.5" top fold cardbase. 
  • Add 3D mounting foam to the back of each balloon and tie a silver thread to the neck of each balloon allowing the thread to loop around the edges of the balloons adhering itself to the 3D mounting foam.
  • Adhere balloons to the edge of each card 
  • Die-cut small clouds using the Simon Says Stamp Picture Book Sky Background die, add 3D mounting to the clouds and adhere to cards. 
  • Finish off the cards with Honey Bee Stamps Carousel Lights Confetti.


Okay, I'm off to use those large dies! I hope you'll give this a try some time. 

I've entered the cards into a few challenges:


As always, thank you for taking the time to join me. 


Be sure to follow me on 


Be sure to check out my website, LisaMensing.com

Thursday, June 27, 2019

Butterfly Love & The Bee's Knees


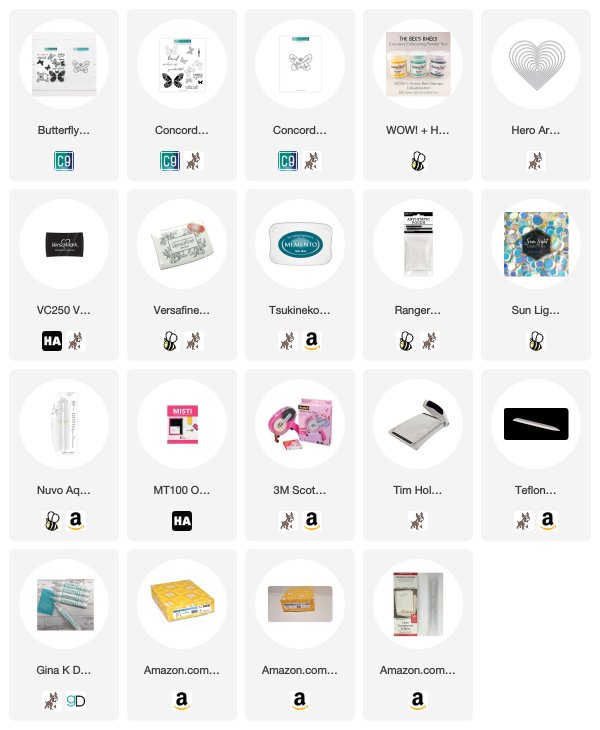
Hi, and welcome! Today I'm taking two of my favorites and mixing it up. Using the Concord & 9th's Butterfly Love Stamps and Honey Bee Stamps new The Bee's Knees Embossing Powders, this is a match made in heaven. 


HOW TO VIDEO


I will say that this card has a lot of heat embossing, but it's worth the time and effort I put into it. The Bee's Knees Embossing Powders are absolutely beautiful and such gorgeous color combination for the butterflies. 


STEP-BY-STEP TUTORIAL
  • Align turnabout stamp on stamp positioning tool, place a piece of heavy cardstock in the stamp positioning tool, cover with anti-static powder, ink turnabout stamp with Versamark Ink, and stamp, repeat the inking and stamping process several times. Remove cardstock from stamp positioning tool, cover stamped images with embossing powder, remove any stray specks of embossing powder, and heat set. 
  • Repeat this process for all four turns with the turnabout stamp, set aside
  • Position large butterfly in stamp positioning tool, apply Distress Oxide Inks - Peacock Feather, Chipped Sapphire, and Mustard Seed directly to stamp with finger daubers, stamp onto #80 cardstock, repeat process until you have a solid stamped image
  • Die-cut the butterfly, the body of the butterfly, and one vellum heart shape
  • Create your gatefold card by taking a piece of cardstock cut to 8.5"w x 5.5"h and scoring at 2 1/8" on both ends. Fold on scored lines to create a gatefold. 
  • Glue the body to the center of the butterfly, add 3D mounting foam to the back of the butterfly, add a silver thread to the back of the butterfly adhering it to the 3D mounting foam, center the butterfly on vellum heart, sandwiching the thread between the vellum and butterfly
  • Add 3D mounting foam to the back of the right side of the vellum and adhere to card base be sure to only secure to the right side 
  • Finish off with a few sequins 


Be sure to become a subscriber to my website www.lisamensing.com for early access to all my videos. I'm in the process of creating a Color Inspiration page that will have color palettes for inspiration. I'm including ink colors and cardstock colors that I currently have to make your creating easier. I find it a great asset when my crafty mojo is running low. 
As always, thank you for popping in. If you have any questions just leave them in the comments or you can email me at contact@lisamensing.com. 

Be sure to follow me on 

Saturday, June 22, 2019

Ink Layering, I'd Pick You Every Time


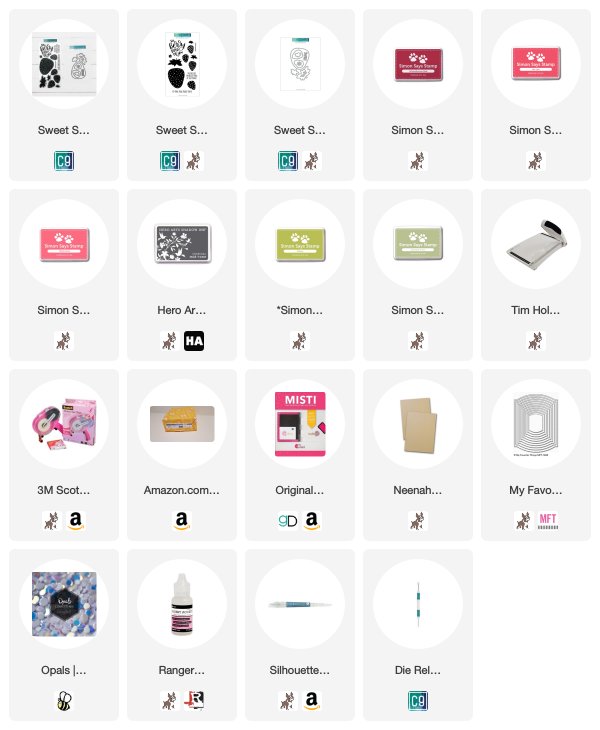
Hi, and welcome. Thanks so much for joining me here on my blog. Today I'm sharing the new Concord & 9th Sweet Strawberries Stamps and Dies along with a few other products that will be listed below.

I've created a short how-to video that will walk you through the process of ink layering with ink pads to create a look much like what you get when coloring with markers. I feel like this is one of those times when watching a demonstration of the process is best. I hope you'll take the time to check it out.


Be sure to become a subscriber to my website www.lisamensing.com for early access to all my videos. I'm in the process of creating a Color Inspiration page that will have color palettes for inspiration. I'm including ink colors and cardstock colors that I currently have to make your creating easier. I find it a great asset when my crafty mojo is running low. 

As always, thank you for popping in. If you have any questions just leave them in the comments or you can email me at contact@lisamensing.com. 

Be sure to follow me on 


Saturday, June 15, 2019

Zen Coloring with Alcohol Inks


Happy Saturday and welcome! I decided to take The Daily Coloring Challenge, my first time.  I've wanted to paint with alcohol inks for some time now, seemed like the perfect time, and here's the end product. Yes, I know it's entirely too early for Autumn, but the colors led me to go with it. And did I mention I really need to use my Simon Says Stamp Four Seasons Sayings, yeah, that too. 

Click the banner below for all the details. 
I'm going to do my best to share something I color every day here on my blog and on social media. 

All I can tell you is grab the alcohol inks, a palette, small brush, and your favorite detailed stamp and have fun!

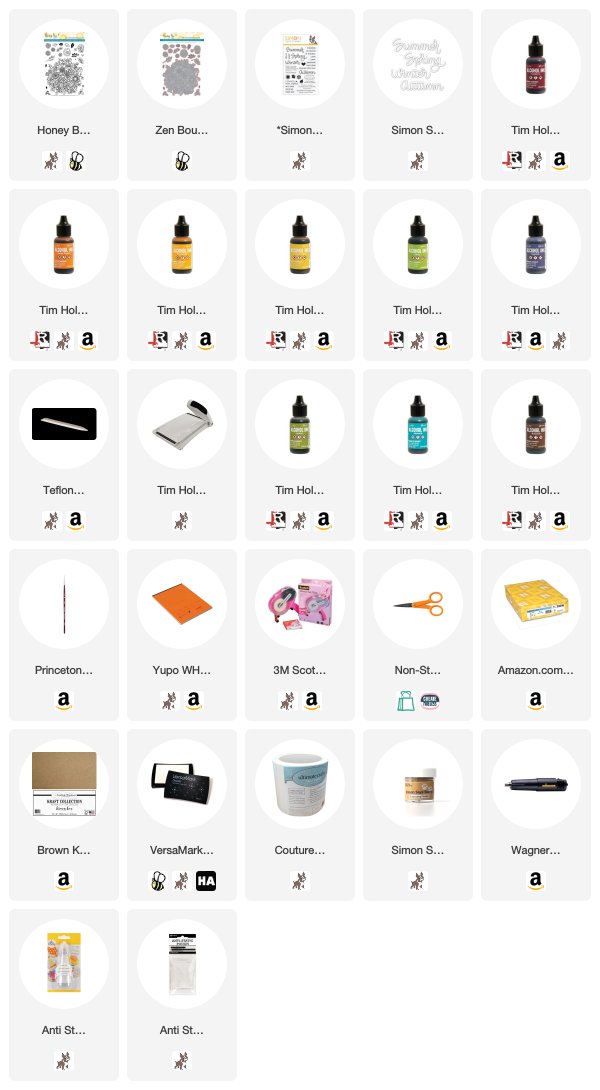
Stamp the image using VersaMark Ink onto Yupo Paper, cover with Simon Says Stamp Antique Gold Embossing Powder and heat set. Using alcohol inks color/paint the image, then LIGHTLY spritz with alcohol from a distance about 18 inches, add die-cut n bond adhesive to the back of the image and run through the die-cut machine. Die cut white cardstock to match the colored image and adhere the two together. (it helps flatten the Yupo paper). Adhere to a 5.5" x 4.25" kraft card base. Using VersaMark ink stamp images to fill in the empty space on the front of the card. Die-cut word, adhere to vellum and card. Stamp sentiment inside the card.


As always, thank you for popping in. If you have any questions just leave them in the comments or you can email me at contact@lisamensing.com. 

Be sure to follow me on 

Friday, May 31, 2019

Have A Sweet Day with Wonky Die Cuts


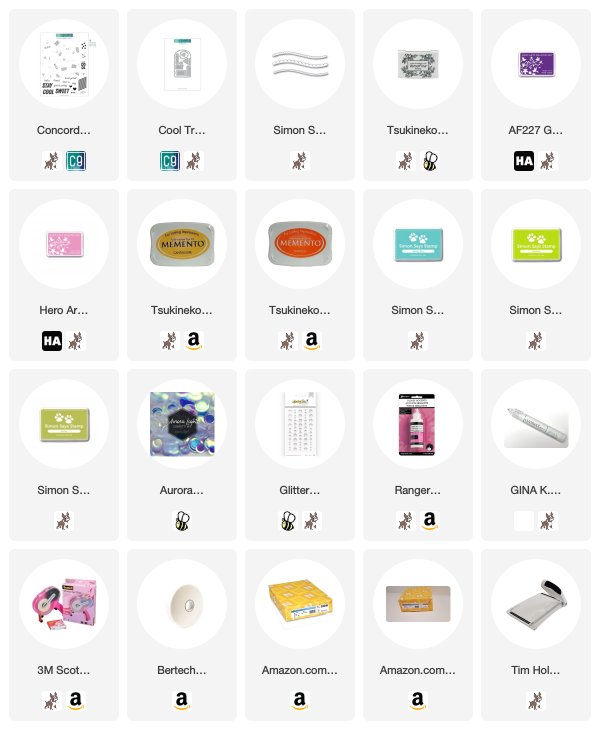
Hi and welcome everyone! Today I'm sharing four "cool" cuts featuring Concord & 9th Cool Treats Turnabout Stamps and Dies plus we explore wonky die-cuts to add movement to our cards. 

I've never been a purple girl, but I have to say Hero Arts Grape Juice ink is changing my mind! 


                                 How sweet are these popsicles and snow cones?


VIDEO TUTORIAL 


Tuesday, May 21, 2019

Diamond Patterns - Hello, You Are the Best


Hello crafty friends! 
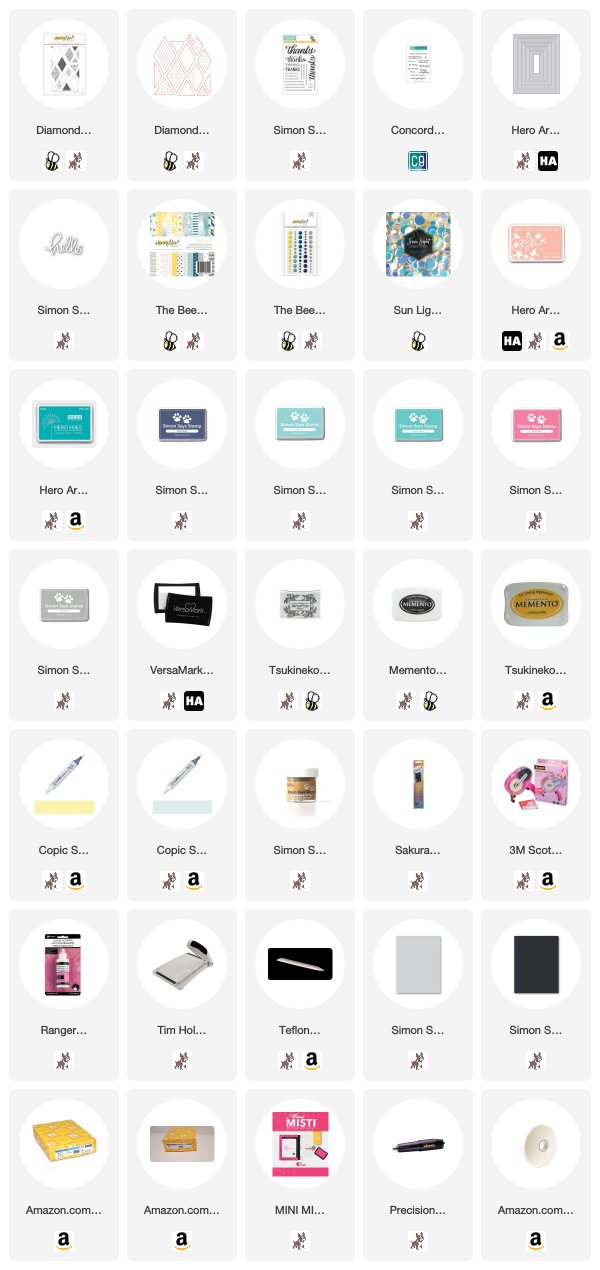
Today I have several samples and a video to share with you using the Honey Bee Stamps - Diamond Patterns Stamps and Coordinating Dies. I have so many more ideas for this stamp set, and I can't wait to put those ideas on paper. I probably should sketch them out, so I don't forget. 


Video Tutorial


Do you have a favorite? I can't decide but I'm leaning on towards the "hello" card. 


As always, thank you for popping in. If you have any questions just leave them in the comments or you can email me at contact@lisamensing.com.