Showing posts with label COPIC markers. Show all posts

Wednesday, July 31, 2019

You Are Pawesome!


Hi, and welcome! My inspiration for today's post was literally these two cuties laying on my desk. I had colored the images back during the 30 Day Coloring Challenge, and I'm just now using them. I was having so much fun; I decided to make a few more. I have a video tutorial below and walkthrough for anyone who is not a fan of videos. Some affiliate links are listed below. 


VIDEO TUTORIAL


WALKTHROUGH


Stamp images onto #80 Neenah Classic Crest Solar White cardstock using Memento Ink - Tuxedo Black

Color images using Copic markers. 
Note - I made four cards, two of each. 

Flowers - Y02, Y04, Y06 
Center - YG61, YG63, YG67
Leaves YG61, YG 63, YG 67
Bee - Y13, Y15, Y17  and N9, N7, N5, N2 for face
B00, B01 for wings

   
Flowers - C1, C2, C3
Center - YG23
 Leaves YG21, YG23
Bee - Y13, Y15, Y17  and N9, N7, N5, N2 for face
B00, B01 for wings


Die-cut all the images. 


Mask off #110 card base and lightly blend SSS Audrey Blue onto the card base. 


Stamp three hearts from the Busy Bee Stamp Set in the upper left corner of each card using Memento Ink in the color Tuxedo Black because I will be coloring the hearts. I then take one of the flower stems and use it to stamp a border around the cards using Versafine Onyx Black ink. 

Adhere all the colored images to the card base using 3D mounting foam. 

Stamp the bees buzz line and adhere bee. 


Stamp sentiments. 


Finish off with clear glitter enamel dots. 


Thanks for joining me.
 I hope you are inspired enough to head to your crafty space and create something amazing today! 
Be sure to head over to the website and become a subscriber, so you have access to my videos before they are published to the public. Did you know that every time I send an email to my subscribers a name is picked from my active subscribers to win a little something? 

www.lisamensing.com


Be sure to follow me on 

Thursday, April 25, 2019

Thinking of You


Hi and welcome. Today I'm sharing a "thinking of you" card I created using Simon Says Stamp Beautiful Day Stamp and Die Set. The Beautiful Day stamp set is one of those sets that you buy, and you know you will always need it. I would also like to add that my inspiration for this card came from the Color Throwdown Challenge #540. Challenges are still a great place to go for inspiration.


HOW TO
  • Stamp images using Memento Ink - Tuxedo Black onto Neenah #80 Classic Crest card stock
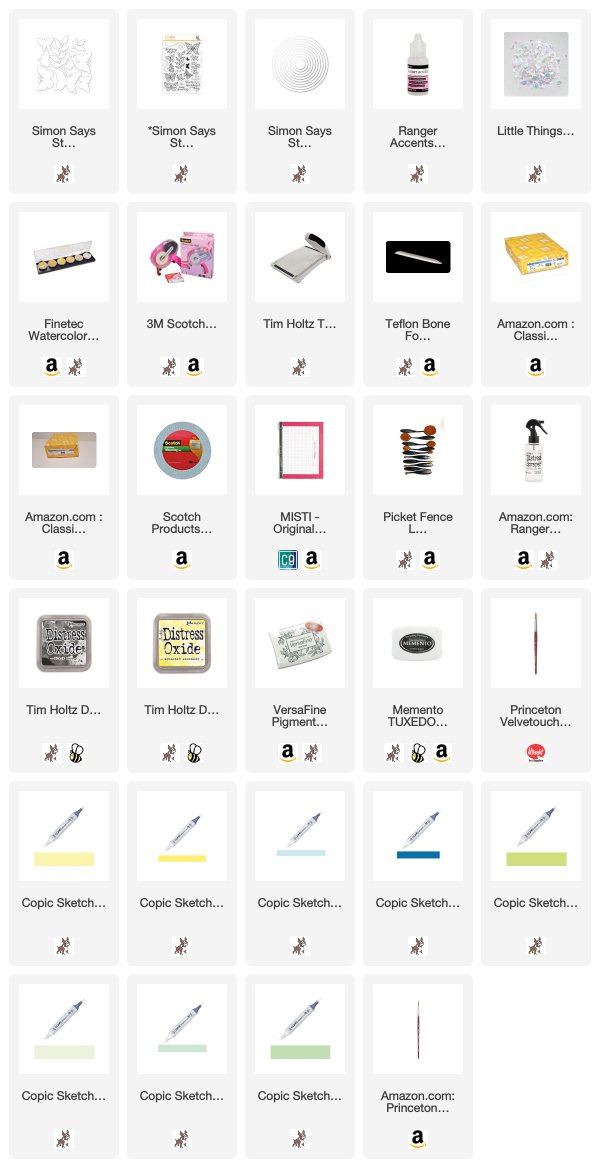
  • Color images using Copic Markers: G20, G21, G24, B37, B12, YR18, Y15, Y13, YG25 
  • Die-cut colored images and a circle for the sentiment, stamp the sentiment using Versafine Onyx Black ink.
  • Stamp swirls from the stamp set onto a 5.5" x 4.25" Neenah #110 Classic Crest Coverstock card base using Simon Says Stamp Ink - Smoke
  • Using makeup brush add Distress Oxide Ink - Squeezed Lemonade in the center of the card base using halo technique (dark center working outward to light shade)
  • Add 3D mounting foam to the back of the sentiment circle.
  • Arrange leaves and adhere to the card base using a quick-dry, clear adhesive
  • Adhere the sentiment circle over the leaves
  • Add 3D mounting foam to the back of the butterflies; position around the sentiment circle.
  • Splatter gold Fine Tec Watercolor and  water-downed Distress Oxide Ink Black Soot onto the card using a round #4 paintbrush 
  • Add clear iridescent Little Things from Lucy Card's sequins using Ranger's Glossy Accents.


DISCLOSURE: I may be an affiliate for products that I recommend. If you purchase those items through my links, I will earn a commission. You will not pay more when buying a product through my link. I only recommend products that I use and love myself, so I know you’ll be in good hands.

Wednesday, November 1, 2017

Bearing Gifts


Hello and welcome back, everyone! Today I'm taking over the Drive By Crafts Blog with Reverse Confetti's Striped Frame Cover Confetti Cuts and Bearing Gifts Stamp Set


Products

                                       Reverse Confetti: Striped Frame Cover Confetti Cuts         Reverse Confetti: Bearing Gifts Stamp Set      
Echo Park Paper Co: Christmas Delivery Paper Pad
       
                                                                                                                   
How To
  • Starting with a 5" x 6" top fold cardbase
  • Cut pattern paper 5"x 6" and adhere to cardbase
  • Die-cut white cardstock using Reverse Confetti Striped Cover Die
  • Cut Kraft cardstock to fit behind Striped Cover 
  • Use Striped Cover die-cut paper to position stamps, stamp images and sentiment using stamping tool and favorite ink on Kraft cardstock
  • Stamp bear in car image with alcohol marker friendly ink and color with alcohol markers; fussy cut
  • Add 3D mounting foam to Stripe Cover die-cut and to the back of the bear image
  • Lay Stripe Cover over Kraft paper and adhere using the 3D mounting foam
  • Adhere bear to bottom corner

As always, thanks for joining us today!
Be sure to join us on: