Showing posts with label Distress Oxide Inks. Show all posts

Thursday, June 27, 2019

Butterfly Love & The Bee's Knees


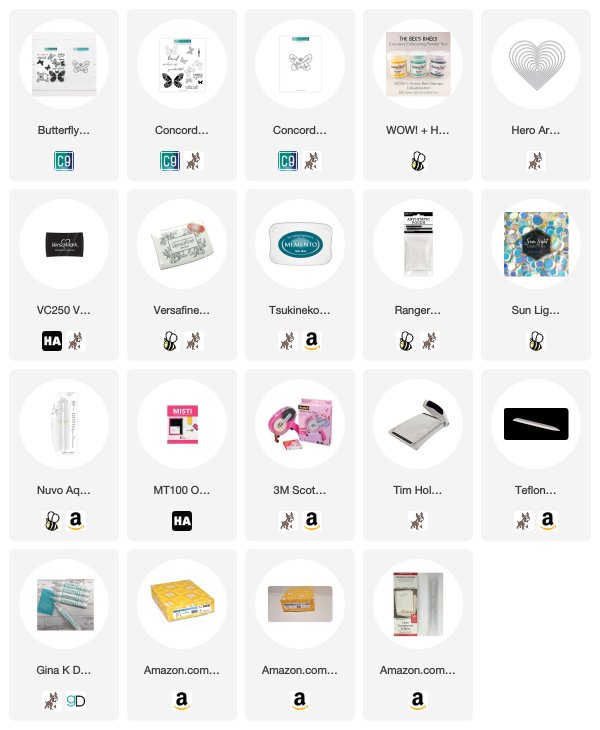
Hi, and welcome! Today I'm taking two of my favorites and mixing it up. Using the Concord & 9th's Butterfly Love Stamps and Honey Bee Stamps new The Bee's Knees Embossing Powders, this is a match made in heaven. 


HOW TO VIDEO


I will say that this card has a lot of heat embossing, but it's worth the time and effort I put into it. The Bee's Knees Embossing Powders are absolutely beautiful and such gorgeous color combination for the butterflies. 


STEP-BY-STEP TUTORIAL
  • Align turnabout stamp on stamp positioning tool, place a piece of heavy cardstock in the stamp positioning tool, cover with anti-static powder, ink turnabout stamp with Versamark Ink, and stamp, repeat the inking and stamping process several times. Remove cardstock from stamp positioning tool, cover stamped images with embossing powder, remove any stray specks of embossing powder, and heat set. 
  • Repeat this process for all four turns with the turnabout stamp, set aside
  • Position large butterfly in stamp positioning tool, apply Distress Oxide Inks - Peacock Feather, Chipped Sapphire, and Mustard Seed directly to stamp with finger daubers, stamp onto #80 cardstock, repeat process until you have a solid stamped image
  • Die-cut the butterfly, the body of the butterfly, and one vellum heart shape
  • Create your gatefold card by taking a piece of cardstock cut to 8.5"w x 5.5"h and scoring at 2 1/8" on both ends. Fold on scored lines to create a gatefold. 
  • Glue the body to the center of the butterfly, add 3D mounting foam to the back of the butterfly, add a silver thread to the back of the butterfly adhering it to the 3D mounting foam, center the butterfly on vellum heart, sandwiching the thread between the vellum and butterfly
  • Add 3D mounting foam to the back of the right side of the vellum and adhere to card base be sure to only secure to the right side 
  • Finish off with a few sequins 


Be sure to become a subscriber to my website www.lisamensing.com for early access to all my videos. I'm in the process of creating a Color Inspiration page that will have color palettes for inspiration. I'm including ink colors and cardstock colors that I currently have to make your creating easier. I find it a great asset when my crafty mojo is running low. 
As always, thank you for popping in. If you have any questions just leave them in the comments or you can email me at contact@lisamensing.com. 

Be sure to follow me on 

Thursday, April 25, 2019

Thinking of You


Hi and welcome. Today I'm sharing a "thinking of you" card I created using Simon Says Stamp Beautiful Day Stamp and Die Set. The Beautiful Day stamp set is one of those sets that you buy, and you know you will always need it. I would also like to add that my inspiration for this card came from the Color Throwdown Challenge #540. Challenges are still a great place to go for inspiration.


HOW TO
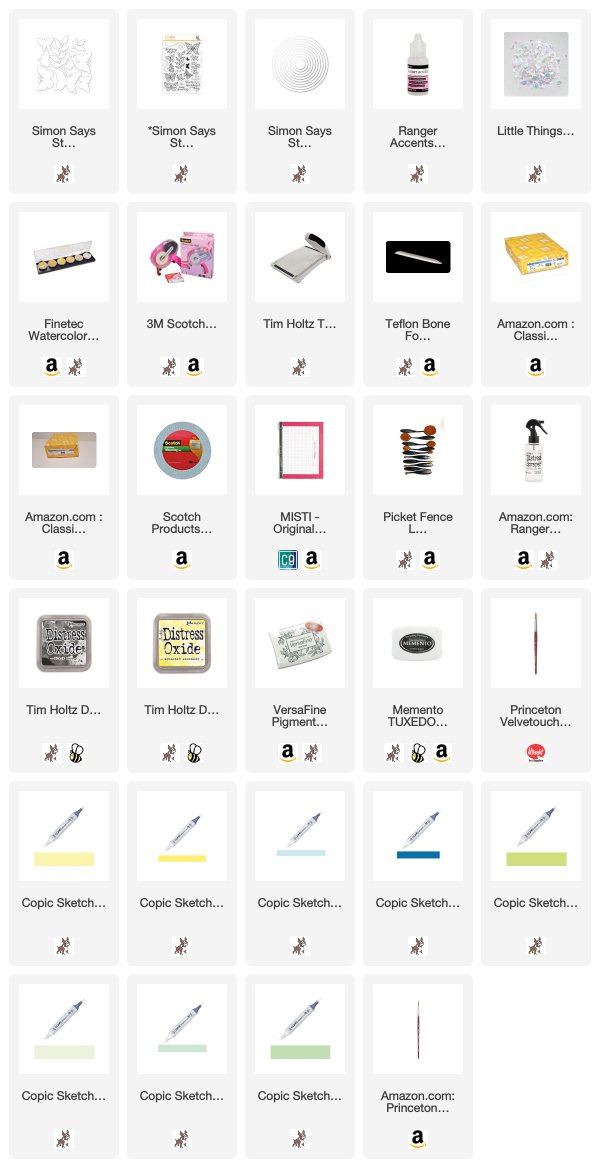
  • Stamp images using Memento Ink - Tuxedo Black onto Neenah #80 Classic Crest card stock
  • Color images using Copic Markers: G20, G21, G24, B37, B12, YR18, Y15, Y13, YG25 
  • Die-cut colored images and a circle for the sentiment, stamp the sentiment using Versafine Onyx Black ink.
  • Stamp swirls from the stamp set onto a 5.5" x 4.25" Neenah #110 Classic Crest Coverstock card base using Simon Says Stamp Ink - Smoke
  • Using makeup brush add Distress Oxide Ink - Squeezed Lemonade in the center of the card base using halo technique (dark center working outward to light shade)
  • Add 3D mounting foam to the back of the sentiment circle.
  • Arrange leaves and adhere to the card base using a quick-dry, clear adhesive
  • Adhere the sentiment circle over the leaves
  • Add 3D mounting foam to the back of the butterflies; position around the sentiment circle.
  • Splatter gold Fine Tec Watercolor and  water-downed Distress Oxide Ink Black Soot onto the card using a round #4 paintbrush 
  • Add clear iridescent Little Things from Lucy Card's sequins using Ranger's Glossy Accents.


DISCLOSURE: I may be an affiliate for products that I recommend. If you purchase those items through my links, I will earn a commission. You will not pay more when buying a product through my link. I only recommend products that I use and love myself, so I know you’ll be in good hands.

Friday, June 8, 2018

Boys of Summer


Happy Friday! It's time for a new challenge over on the CAS-ual Fridays Friday Challenge Blog. Boy, that is a mouth full, right? Be sure to hop over to blog and check out all the inspiration by the other design team members. 


Since this challenge is all about Boys of Summer I wanted to use bright, bold colors. 


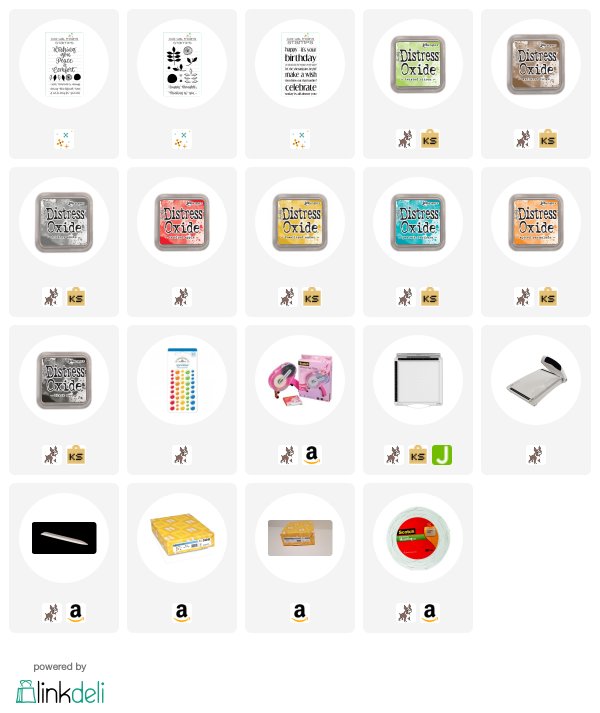
To create this card you will need black, yellow, green, orange, red, gray, brown and blue/turquoise inks. I used Distress Oxides in Peacock Feathers, Candied Apple, Twisted Citron, Spiced Marmalade, Fossilized Amber, Gathered Twigs, Black Soot and Hickory Smoke. You can use any inks you have available. 

The stamps I used are Peaceful Garden, Peace and Comfort, Shenanigans(greetings) and the smallest dots are bubbles from a Mermaid Stamp set(discontinued).

Use a stamp position tool if available and randomly stamp the shapes onto Neenah Classic Crest Solar White Cover Stock 80lb. Stamp the greetings using black ink. Add green, red and yellow enamel dots to finish. 

Add 3D mounting foam to the back and adhere to a 4.25" x 5.5" top fold cardbase. 


*


Be sure to the discount code below during check out. 


I have a full list of supplies below. Some of the products I receive for free,those will be marked with an asterisk(*). All other products were purchased by me personally for this blog post. I may earn a small commission if you purchase items, at no extra charge to you, through the links listed below. I use the commission to buy more supplies, create more projects, and video tutorials.

Tuesday, April 17, 2018

Good Morning + Winners


Good Morning! Just a quick post to share the winners from last nights redraw video. 

Jon Samuelson was the winner of the Scan N Cut! 
He did, in fact, call me to claim it and I insisted that he send photos/video of him making his first cuts using the machine. LOL  He was great, lots of fun to talk to. 
MaryAnn is going to love Jon's new toy, I just know it! 


CONGRATULATIONS!
I've already sent the tracking number to them and it's shipping out today. 

Image result for brother scan n cut 350
While we were live I said I would draw a name from the chat to win two Distress Oxide Ink pads and two Raisin Boat Stamp Sets! 
DRUM ROLL.......

MIGDALIA IS THE LUCKY WINNER! 
Of course, she knows she can PM on FB or email me through the website or at lisanaaron.lm@gmail.com and I will have her goodies out to her ASAP! 
  

Again, I can't say thank you enough to everyone! Crafty friends truly are the best! 

So, I'm off to make a few new videos to share on YouTube and share some new products. 
Hope you all have a great day!