Showing posts with label Heat Embossing. Show all posts

Thursday, June 27, 2019

Butterfly Love & The Bee's Knees


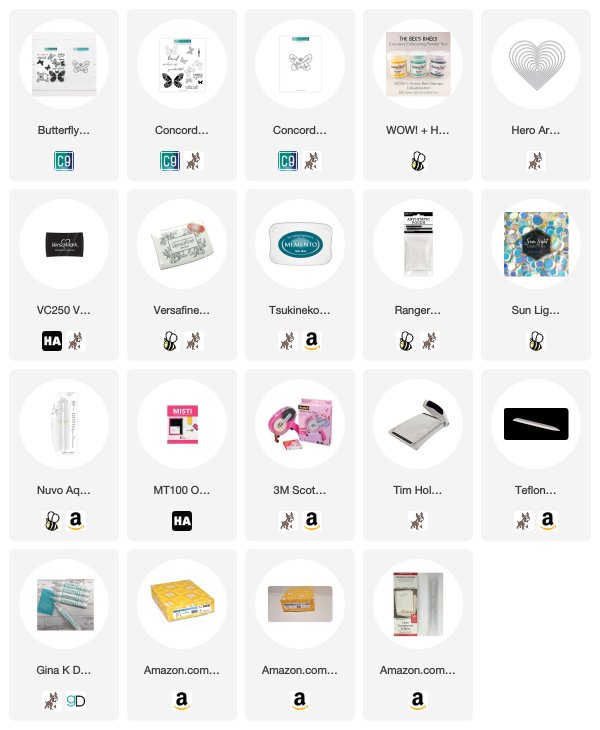
Hi, and welcome! Today I'm taking two of my favorites and mixing it up. Using the Concord & 9th's Butterfly Love Stamps and Honey Bee Stamps new The Bee's Knees Embossing Powders, this is a match made in heaven. 


HOW TO VIDEO


I will say that this card has a lot of heat embossing, but it's worth the time and effort I put into it. The Bee's Knees Embossing Powders are absolutely beautiful and such gorgeous color combination for the butterflies. 


STEP-BY-STEP TUTORIAL
  • Align turnabout stamp on stamp positioning tool, place a piece of heavy cardstock in the stamp positioning tool, cover with anti-static powder, ink turnabout stamp with Versamark Ink, and stamp, repeat the inking and stamping process several times. Remove cardstock from stamp positioning tool, cover stamped images with embossing powder, remove any stray specks of embossing powder, and heat set. 
  • Repeat this process for all four turns with the turnabout stamp, set aside
  • Position large butterfly in stamp positioning tool, apply Distress Oxide Inks - Peacock Feather, Chipped Sapphire, and Mustard Seed directly to stamp with finger daubers, stamp onto #80 cardstock, repeat process until you have a solid stamped image
  • Die-cut the butterfly, the body of the butterfly, and one vellum heart shape
  • Create your gatefold card by taking a piece of cardstock cut to 8.5"w x 5.5"h and scoring at 2 1/8" on both ends. Fold on scored lines to create a gatefold. 
  • Glue the body to the center of the butterfly, add 3D mounting foam to the back of the butterfly, add a silver thread to the back of the butterfly adhering it to the 3D mounting foam, center the butterfly on vellum heart, sandwiching the thread between the vellum and butterfly
  • Add 3D mounting foam to the back of the right side of the vellum and adhere to card base be sure to only secure to the right side 
  • Finish off with a few sequins 


Be sure to become a subscriber to my website www.lisamensing.com for early access to all my videos. I'm in the process of creating a Color Inspiration page that will have color palettes for inspiration. I'm including ink colors and cardstock colors that I currently have to make your creating easier. I find it a great asset when my crafty mojo is running low. 
As always, thank you for popping in. If you have any questions just leave them in the comments or you can email me at contact@lisamensing.com. 

Be sure to follow me on 

Tuesday, May 21, 2019

Diamond Patterns - Hello, You Are the Best


Hello crafty friends! 
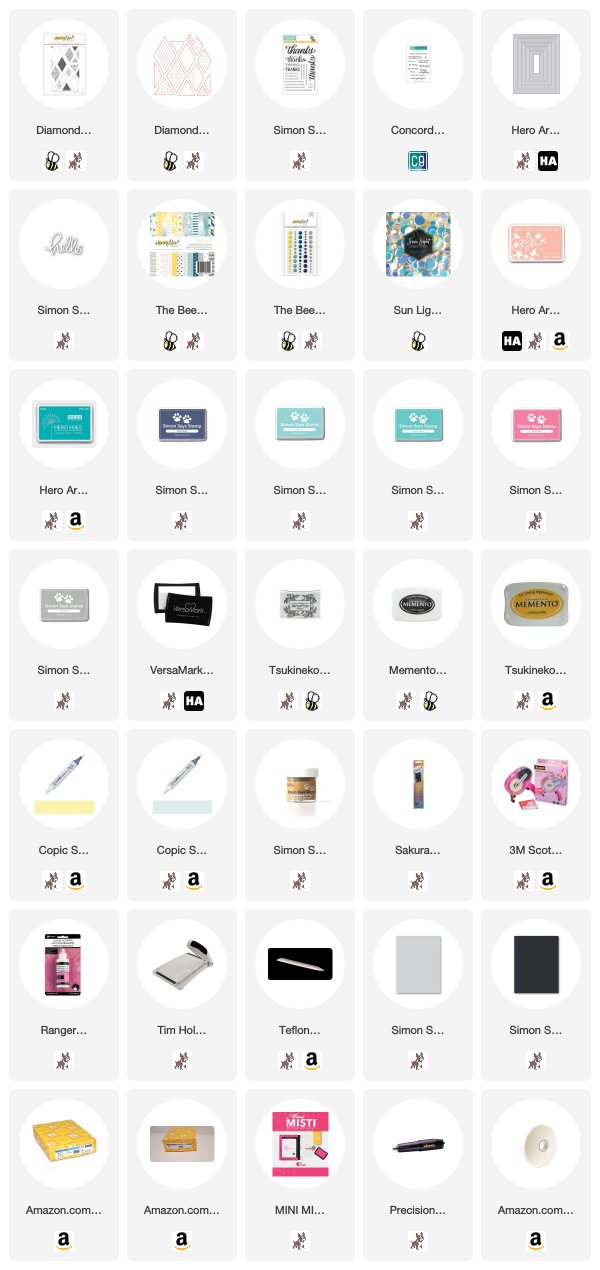
Today I have several samples and a video to share with you using the Honey Bee Stamps - Diamond Patterns Stamps and Coordinating Dies. I have so many more ideas for this stamp set, and I can't wait to put those ideas on paper. I probably should sketch them out, so I don't forget. 


Video Tutorial


Do you have a favorite? I can't decide but I'm leaning on towards the "hello" card. 


As always, thank you for popping in. If you have any questions just leave them in the comments or you can email me at contact@lisamensing.com. 


Friday, May 17, 2019

Feeling Cooped Up? Just say Cluck It!


Happy Friday crafty friends!  As I sit here, looking out the window, the grass is screaming cut me but first the important things, the crafty stuff, am I right? So here I am with three more funny, punny cards featuring the Honey Bee Stamps Spring Chicks and Coordinating Dies.

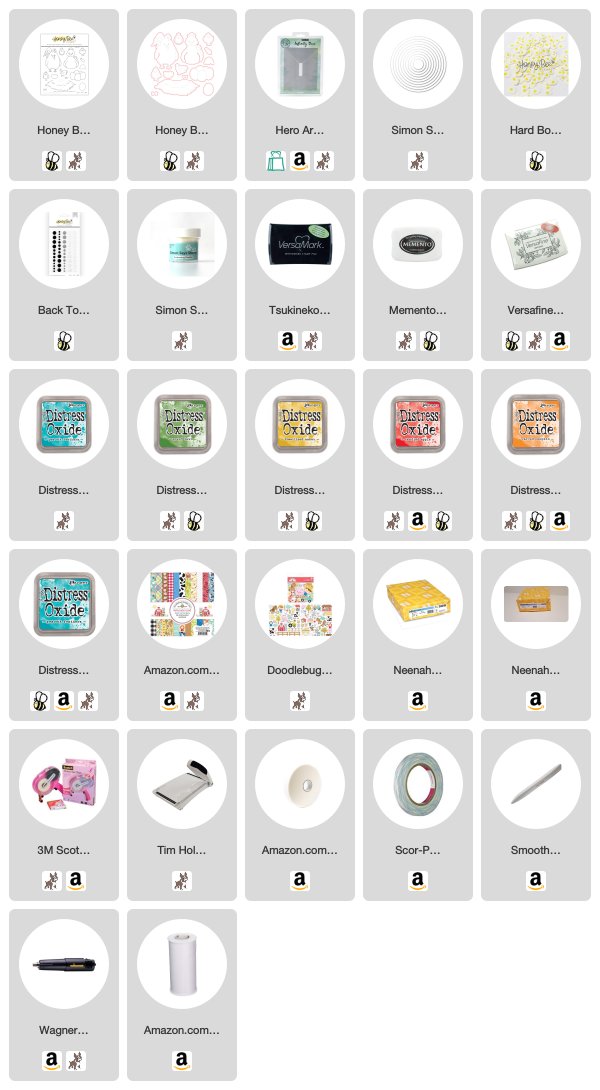
I sat down to play around with this cutie because apparently, I can't get enough of him. I knew two things when I started this; I would be doing partial die-cutting, here's a video showing how to do partial die-cutting, and I would be using Doodle Bug Designs 6 x 6 Down On the Farm Paper. After die-cutting, coloring, and about ten minutes of staring at this, I decided this thing needed some color.  Of course, I grabbed the Distress Oxide Inks, the blending brushes, and got busy. I'm not a big water-spritzing gal, but I pulled out all the stops with this card and went for it. I covered the rooster while spritzing only to remove it and see little orange specks of color on the rooster. Like, what the heck? No biggie, I just made it work for me by adding orange dots of ink, randomly and making this a "Feel Better Soon" card. Smoke and mirrors, that's all I will say! I added 3D mounting foam to the back of the panel after it dried. In the meantime, I added the patterned paper to a 4.25" x 5.5" Neenah Classic Crest - Solar White card base. That just leaves adhering this panel to the card base, stamping the sentiment on the patterned paper using Versafine Onyx Black Ink, Simon Says Clear Detail Embossing Powder, die-cut with the coordinating die and add to the card. I used enamel dots from my stash in all the colors! 

While I was purchasing the Spring Chicks Stamps and Dies from Honey Bee Stamps, I stumbled across the cutest clay embellishments, Hard Boiled - Clay Eggs.  So I decided a shaker card needed to happen only to discover that I am out of acetate! Another, what the heck moment. That's okay, it just pushed me out of the box, and I grabbed white tulle. I forget I have these things until I absolutely have to have them. 

I also remembered the Doodle Bug Designs Odds and Ends that coordinate with the 6 x 6 paper pad. Low and behold, a fence already die-cut and colored, it doesn't get much better than that. 

I created one more card somewhat like the first, minus the splattered Distress Oxide ink and adding a fence. I grabbed Honey Bee Stamps Enamel Dots

As always, thank you for stopping by. If you have any questions or comments, just leave them in the comments. 

Have a beautiful weekend!


Affiliate links provided at no extra cost to you. 

Friday, May 18, 2018

Remember


Happy Friday, everyone! Today I'm over on the SumMore Blog sharing a card with a great message, Remember. I'm pulling out my go-to words, quick and simple. Maybe I should make that my motto. 
I did make this in a hurry yesterday. I've been battling a serious cold for two weeks and yesterday was the first day back in the craft room. My husband joked, you haven't been on your laptop but a few times, you are sick! I should have said REMEMBER who cooks your food, buddy! LOL Anyway, I think I'm on the downside of this mess and so glad. 


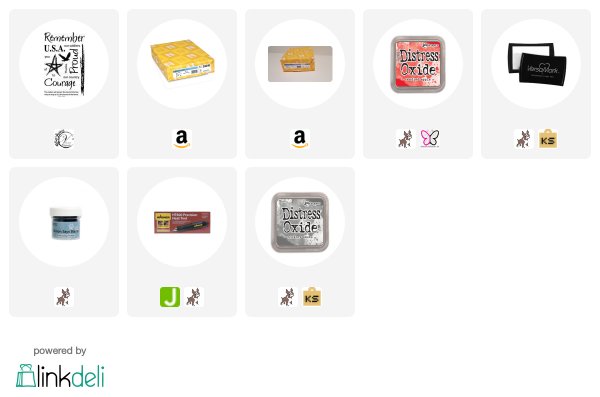
Using the Strokes of Pride Stamp Set  stamp the "streak" using red ink on white cardstock. Stamp the star on heat resistant acetate using versamark ink and blue embossing powder. Tip: Always remember to use anti static powder when using embossing powder and pre-heat your heat gun. Heat set the powder. Stamp sentiment using gray ink on white cardstock, add 3D mounting foam to the back of sentiment and decided placement on card then adhere to acetate. Flip the acetate over and add another piece of 3D mounting foam to the backside of acetate hiding it behind the sentiment, adhere to stamped card panel. Add enamel dots randomly on acetate adding 3D mounting on the backside of the acetate, hiding it behind the enamel dots and adhere to stamped panel. Center on a 4.25" x 5.5" card base. 


Stamp the sentiment "this nation..." inside of card.


Be sure to join the current mood board challenge over at SumMore Fun!


DISCLOSURE: I may be an affiliate for products that I recommend. If you purchase those items through my links I will earn a commission. You will not pay more when buying a product through my link. I only recommend products that I use and love myself, so I know you’ll be in good hands.


Friday, January 5, 2018

All That Glitters


Hi and welcome back, everyone! Today I'm sharing my inspiration for the new
CAS-ual Fridays Challenge - All That Glitters.  Be sure to link your project for a chance to win.


PRODUCTS
Love Notes
How To
  • Stamp image using VersaMark ink and heat set gold embossing powder, stamp the sentiment using VersaFine Onyx Black ink on Neenah #110 Cardstock(4.125"x5.375")
  • Die-cut red glitter cardstock with Heart Note Fri-Die
  • Add fun foam to the back of stamp card panel and adhere to an A2 (4.25"x5.5") cardbase


As always, thanks for joining me today. 

Wednesday, November 15, 2017

Tiding of Comfort & Joy


Hello and welcome back, everyone! Today I'm over on the Drive By Crafts Blog wishing you "tidings of comfort and joy". As this is my last post for Drive By Crafts I wanted to take a minute to thank Annette for this amazing opportunity, it's been a wonderful experience. 


Products

Avery Elle: Merry Flowers Stamp SetAvery Elle: Merry Flowers Die Set


How To
  • Starting with a 4.25" x 5.5" top fold cardbase
  • Cut patterned papers 4.25"x 5.5" and cut/die-cut one shorter than other 
  • Die-cut Merry Flower from bristol paper
  • Stamp Avery Elle Merry Flower on die-cut Bristol paper and Holiday sentiment on patterned paper using Versamark Ink; heat emboss using gold embossing powder
  • Color using watercolors, finish off with Finetec Gold & Pearl watercolors completely cover each flower and leaf
  • Adhere patterned paper with sentiment to cardbase
  • Adhere shorter patterned paper to top of cardbase
  • Center Merry Flowers overlapping top patterned paper 


As always, thanks for joining us today!

Friday, January 27, 2017

Thinking Of You


Hi, everyone and welcome! Today I'm sharing a little inspiration for the Craftin Desert Divas Monthly Mood Board Challenge. You still have a few days left to join in. 


I did a little heat embossing and distress ink blending to create this quick Thinking of You card. 
I highly recommend the Finetec Watercolor Set - Golds, they are gorgeous, and it takes very little water to use them. I also recommend investing in a few high-quality paint brushes or you'll just keep replacing the cheap ones. 


CARD BASE
  • 4.25in. X 5.5in. Canson Water Color Paper 
STAMP

  • Using Versafine Onyx Black Ink Stamp snowflakes and flourishes and heat emboss with clear embossing powder
  • Using painter's tape off paper and layer distress inks blending Seedless Preserves, Salty Ocean, and Peacock Feathers
  • Using Finetec Artist Mica Watercolor Set - Sterling Silver flick tiny splats over card
  • Let dry.

Affiliate Links are provided when available through ShareASale, Affiliatly, and CJ Affiliate. If you purchase through these links, I will earn a small commission at no extra charge to you.  I buy my products, and occasionally I do receive free products to review, and I will disclose that information when I do.