Showing posts with label Zig Clean Color Real Brush. Show all posts

Wednesday, November 15, 2017

Tiding of Comfort & Joy


Hello and welcome back, everyone! Today I'm over on the Drive By Crafts Blog wishing you "tidings of comfort and joy". As this is my last post for Drive By Crafts I wanted to take a minute to thank Annette for this amazing opportunity, it's been a wonderful experience. 


Products

Avery Elle: Merry Flowers Stamp SetAvery Elle: Merry Flowers Die Set


How To
  • Starting with a 4.25" x 5.5" top fold cardbase
  • Cut patterned papers 4.25"x 5.5" and cut/die-cut one shorter than other 
  • Die-cut Merry Flower from bristol paper
  • Stamp Avery Elle Merry Flower on die-cut Bristol paper and Holiday sentiment on patterned paper using Versamark Ink; heat emboss using gold embossing powder
  • Color using watercolors, finish off with Finetec Gold & Pearl watercolors completely cover each flower and leaf
  • Adhere patterned paper with sentiment to cardbase
  • Adhere shorter patterned paper to top of cardbase
  • Center Merry Flowers overlapping top patterned paper 


As always, thanks for joining us today!

Monday, September 18, 2017

Zen Floral Stamps + Zig Clean Color Real Brush Pens

Hi, everyone! Lisa here with you today and I'm sharing another quick card featuring Honey Bee Stamps Zen Floral. I've never been too sure of the doodled floral but I have to say I'm in the market for more after using the Honey Bee Stamp. I loved coloring it, so relaxing and a little time for reflection.


CARD BASE
A2 top fold white card base
Cut pattern paper to 4.25" x 5.5" and adhere to card front

STAMP
Stamp Honey Bee Stamp Zen Floral on watercolor paper using watermark ink, heat emboss with gold embossing powder, color with watercolors


ASSEMBLE
Add 3D mounting foam to back of white cardstock and stamped images

 Arrange and adhere to cardbase
Finish off by adhering sequins 

Thanks for joining me today! 

Be sure to join us on:

Sunday, June 4, 2017

Peas and Thank You

Hi, everyone and welcome! Today I'm over on the Victorine Originals Blog sharing a card featuring the Pea Pod Stamp from Victorine Originals and another punny sentiment. I refuse to drag Y'all down with me and the puns, so I'll just jump into the card and the how-to.


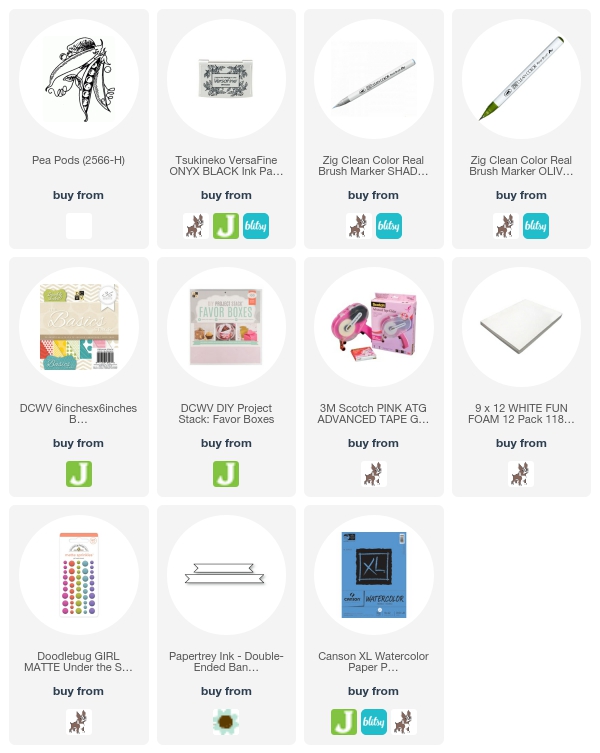
It seems most everything I make is quick and simple, this one is no different. I used DCWV The Basics 6x6 Paper Pad and DCWV DIY Project Stack Favor Boxes 12 x 12 Paper Pad. The sentiment, like most I do, is printed onto the color cardstock using my printer. I stamped the Pea Pods Stamp several times, no rhyme or reason, just do it. Color two peas in each pod with a green alcohol marker or watercolor pen then color the rest of the images with a light gray. The rest is die-cutting, I used stitched rectangle dies so I create layers. I die-cut the printed sentiment using a banner die. I added a little fun foam to create dimension between the second and third layers. I finished the card off with three enamel dots.


As always, thanks for joining us here on the Victorine Original Challenge Blog.
Don't forget to join the challenge for a chance to win.

Click on the short link below to see another card using the Victorine Originals Pea Pod Stamps.
http://bit.ly/2riuCBz  - this will link you directly to an Instagram post.