Showing posts with label Spring Chicks. Show all posts

Friday, May 17, 2019

Feeling Cooped Up? Just say Cluck It!


Happy Friday crafty friends!  As I sit here, looking out the window, the grass is screaming cut me but first the important things, the crafty stuff, am I right? So here I am with three more funny, punny cards featuring the Honey Bee Stamps Spring Chicks and Coordinating Dies.

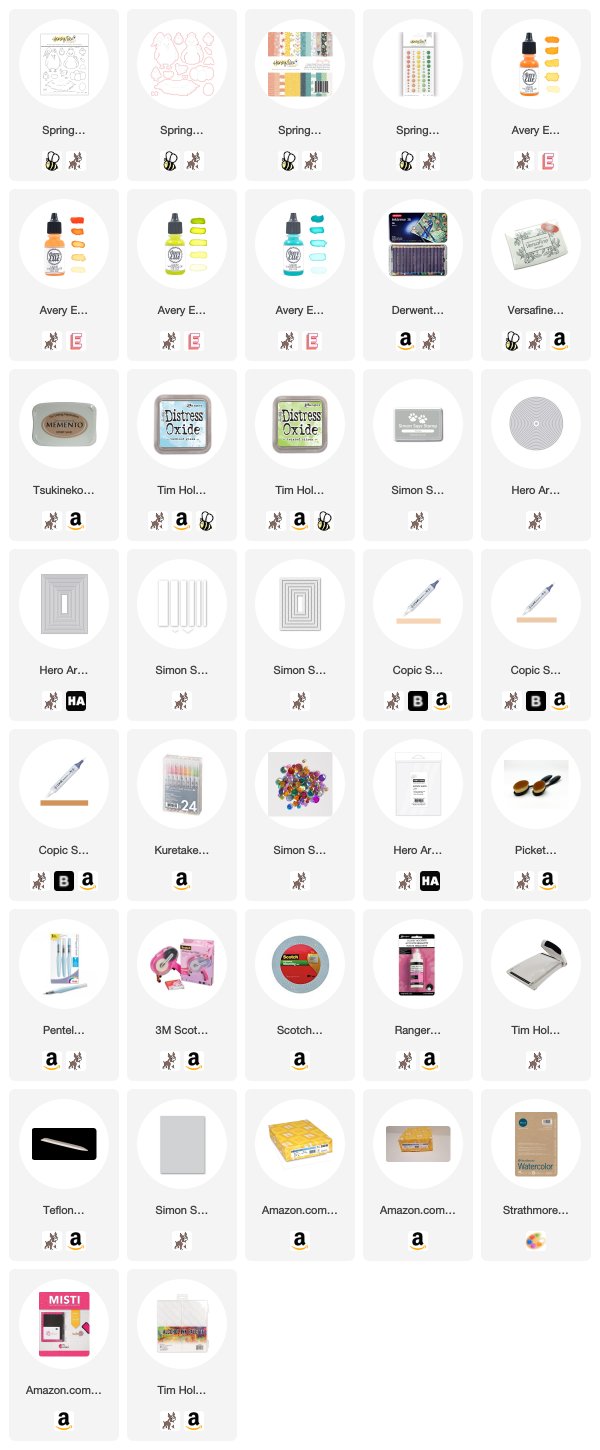
I sat down to play around with this cutie because apparently, I can't get enough of him. I knew two things when I started this; I would be doing partial die-cutting, here's a video showing how to do partial die-cutting, and I would be using Doodle Bug Designs 6 x 6 Down On the Farm Paper. After die-cutting, coloring, and about ten minutes of staring at this, I decided this thing needed some color.  Of course, I grabbed the Distress Oxide Inks, the blending brushes, and got busy. I'm not a big water-spritzing gal, but I pulled out all the stops with this card and went for it. I covered the rooster while spritzing only to remove it and see little orange specks of color on the rooster. Like, what the heck? No biggie, I just made it work for me by adding orange dots of ink, randomly and making this a "Feel Better Soon" card. Smoke and mirrors, that's all I will say! I added 3D mounting foam to the back of the panel after it dried. In the meantime, I added the patterned paper to a 4.25" x 5.5" Neenah Classic Crest - Solar White card base. That just leaves adhering this panel to the card base, stamping the sentiment on the patterned paper using Versafine Onyx Black Ink, Simon Says Clear Detail Embossing Powder, die-cut with the coordinating die and add to the card. I used enamel dots from my stash in all the colors! 

While I was purchasing the Spring Chicks Stamps and Dies from Honey Bee Stamps, I stumbled across the cutest clay embellishments, Hard Boiled - Clay Eggs.  So I decided a shaker card needed to happen only to discover that I am out of acetate! Another, what the heck moment. That's okay, it just pushed me out of the box, and I grabbed white tulle. I forget I have these things until I absolutely have to have them. 

I also remembered the Doodle Bug Designs Odds and Ends that coordinate with the 6 x 6 paper pad. Low and behold, a fence already die-cut and colored, it doesn't get much better than that. 

I created one more card somewhat like the first, minus the splattered Distress Oxide ink and adding a fence. I grabbed Honey Bee Stamps Enamel Dots

As always, thank you for stopping by. If you have any questions or comments, just leave them in the comments. 

Have a beautiful weekend!


Affiliate links provided at no extra cost to you. 
Friday, May 10, 2019

Shake Your Tail Feathers


Hello and welcome! Today I'm sharing three fun cards featuring Honey Bee Stamps Spring Chicks Stamps and Dies, Eggcellent Sentiments, Spring Fling 6x6 Paper Pad and coordinating enamel dots. I fell in love with the rooster in this stamp set, the whole set is adorable, but that rooster is just too much cuteness! 


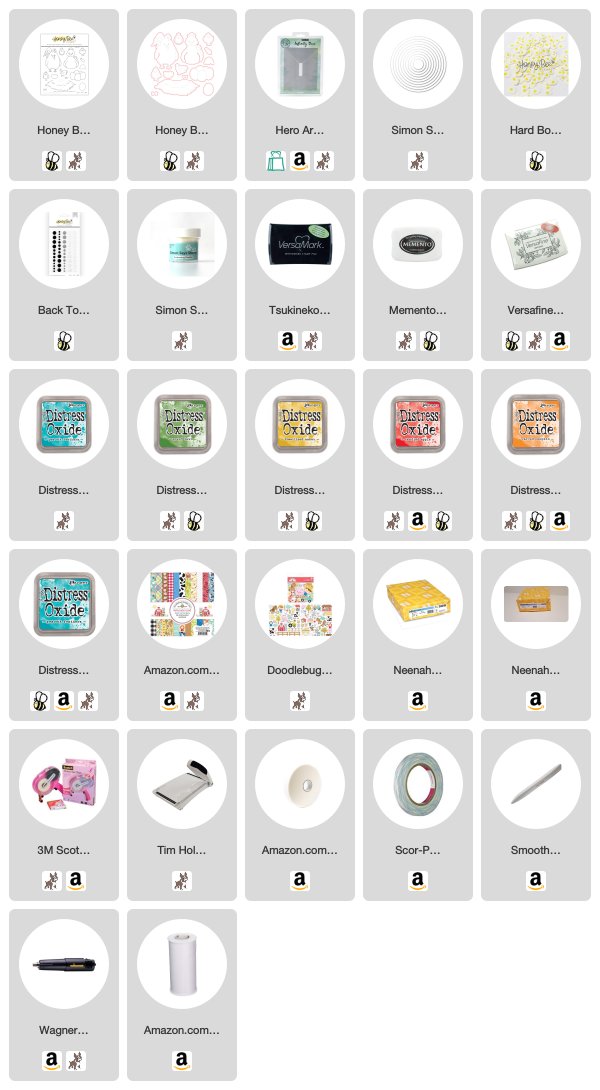
To get started I stamped the images I needed using Versafine Onyx Black Ink. 


I used a stamping tool because I knew I would need to do a lot of repeat stamping using watercolor paper. 


 I used Avery Elle Liquid Watercolors, Zig Clean Color Real Brush Pens, and Derwent Inktense Pencils to color the images. Set aside to dry. Die-cut using coordinating dies. 


The first card I created is the "I'm Not Too Chicken" card, super simple. 

Stamp the nest onto a 4.24" x 5.5"  #110 Neenah Classic Crest Solar White card base and color with Copic markers; E33, E35, E37. 

Create a mask for the nest using Simon Says Masking Paper, mask off. Add Distress Oxide Tumbled Glass and Twisted Citron ink directly on the card base. I repeated the ink blending on the inside of the card, it's optional. 


Stamp the eggs on a piece of #80 Neenah Classic Crest Solar White cardstock, color using gray Copics for shading, stamp sentiment using Versafine Onyx Black Ink.

Add 3D mounting foam to the chick, adhere over the nest, finish off with enamel dots. Stamp the sentiment onto a SSS Fog piece of cardstock that has been die-cut with the SSS sentiment strip. Finish off with coordinating enamel dots. 


The second card might be my favorite out of the three, Shake Your Tail Feathers.

Using a 4.25" x 5.5" #110 Neenah Classic Crest Solar White card base adhere patterned paper to cut the same size on cardbase. Stamp "shake" randomly onto one of two die-cut #80 cardstock panels with SSS Smoke Ink and die-cut a window. Add acetate to the back of the stamped panel, add 3D mounting foam making sure to leave no gaps between foam pieces, add sequins then cover with the second die-cut panel. You just formed your shaker. 

Add adhesive to the back of shaker and center on the card base. Adhere the rooster to the left of the window using 3D mounting foam. Stamp sentiment on remaining patterned paper using Versafine Onyx Black Ink, cut into pieces, add mounting foam to the back of each piece, then place on the card, cattywampus.

The "Feel Better Soon" card is super simple. Add patterned paper cut to size onto a 4.25" x 5.5" card base. Die-cut a second patterned using rectangle 4.25" die then die-cut again with a circle die on the bottom right side. Add 3D mounting foam and adhere to the card base.

Add rooster to the card using 3D mounting foam, stamp the sentiment onto a SSS Fog piece of cardstock that has been die-cut with the SSS sentiment strip. Finish off with coordinating enamel dots. 


I have to say the Eggcellent Sentiment Stamp Set is a must with the Spring Chicks, so many sentiments, for so many different needs.

Leave a comment below and let me know what you think. 

As always, thank you for joining me today.