Showing posts with label Memento Ink. Show all posts

Saturday, April 20, 2019

Graduation?


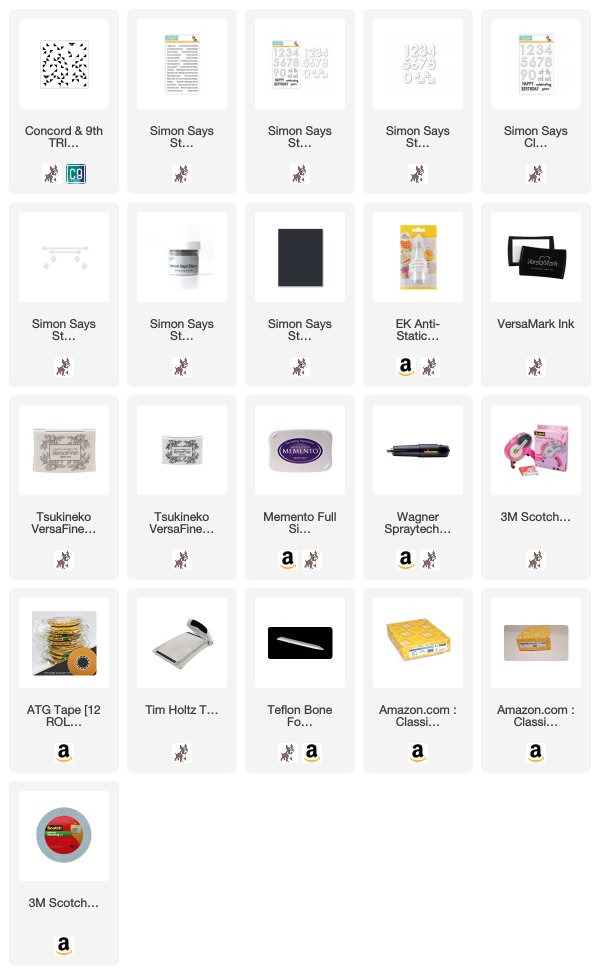
Hi and welcome. Today I'm sharing a Congratulations card for graduation and let me just say, it was much easier than I anticipated. I, literally, do not own a graduation stamp set. No worries, I pulled out my Concord & 9th Triangle Turnabout Stamp and inks in school colors. At least, I think those are the school colors. ***me laughing at myself***  I picked this stamp because the card is for my nephew and I know this pattern is great for masculine cards. 

Next, I went on the hunt for a congratulations stamp and grabbed the Simon Says Stamp Messages For Everyday Stamps. Yes, I do have a few sentiment sets, so this was reasonably easy. Up to this point, the card was okay, but it didn't scream graduation to me. Then I remembered the Simon Says Stamp Big Numbers Stamp and Die set I own. Bingo!
After that, it was just a matter of deciding on the black cardstock for the sentiment and numbers. I ended up heat embossing the sentiment and numbers using Simon Says Stamp Ultra Fine Silver Embossing Powder. I created a pocket on the inside of the card to hold cash using the Simon Says Stamp Gift Card Slots Wafer Dies


As always, thanks for joining me.


DISCLOSURE: I may be an affiliate for products that I recommend. If you purchase those items through my links I will earn a commission. You will not pay more when buying a product through my link. I only recommend products that I use and love myself, so I know you’ll be in good hands.

Friday, May 25, 2018

Thanks To You


Happy Friday, once more! I'm back, I know, three times in a day, really Lisa? But I have a great guy card featuring SumMore Fun Raisin Boat Strokes of Pride Clear Stamps that I want to share with you. And, of course, I'm hoping it offers up inspiration and you hop over to the new challenge, link your projects, and maybe, just maybe, win a $20 gift code to the SumMore Fun Online Store

I think first I should share the new challenge mood board with you so you get a feel for where I was coming from with this card. Then we'll jump right into the how-to.


Let's make a card! This style is not my "norm" but some times you just have to do it. 

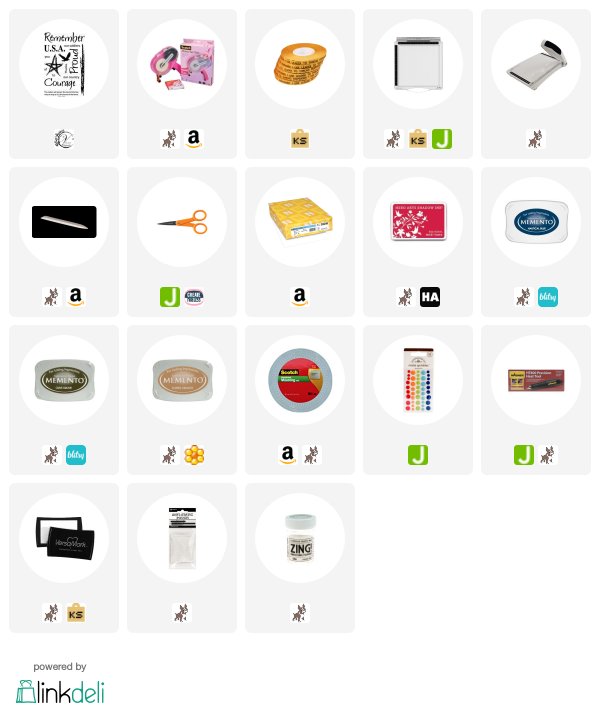
  • Using 80 lb white cardstock stamp the streaks from the Raisin Boat Strokes of Pride stamp set alternating colors. I used Hero Arts Shadow Ink in Red Royal, Memento Ink Nautical Blue, Toffee Crunch, Olive Grove
  • Stamp the eagles randomly on 80 lb white cardstock using same inks 
  • Stamp the star using Memento Ink Nautical Blue and the "U.S.A." using Hero Arts Shadow Ink in Red Royal
  • Cut stamped panels down to desired size 
  • Using Raisin Boat Roasted Red Pepper cardstock to create a 4.25" x 5.5" top fold card base
  • Use a piece of Kraft, Olive Green, and Navy Blue to mat stamped panels
  • Layer onto cardbase - first layer adhere using permanent adhesive, second layer using 3D mounting foam, the third layer do half with permanent adhesive and half with 3D mounting foam so it sits level on other layers
  • Stamp sentiment from same stamp set using VersaMark Ink onto black cardstock, add white embossing powder, and heat set. (anti-static powder and pre-heat gun always) 
  • Adhere to card using 3D mounting foam 


I have a full list of supplies below. I did receive the Raisin Boat Strokes of Pride Clear Stamps as compensation for my contributions to the SumMore Fun Design Team but all other products were purchased by me personally. I may earn a small commission if you purchase items, at no extra charge to you, through the links listed below. I use the commission to buy more supplies, create more projects, and video tutorials

As always, thanks for joining me and I hope you have a great weekend! 


Friday, March 23, 2018

Going Up, Up and Away!


Happy Friday, everyone and welcome! Today I'm taking over the SumMore Fun blog with this cutie from the Raisin Boat Spring Is In the Air Stamp Set. This is a great set for Spring and Easter, lots of possibilities with this one. 
This card was created using white cardstock, colored inks, COPIC markers and a few die-cuts from my stash. 

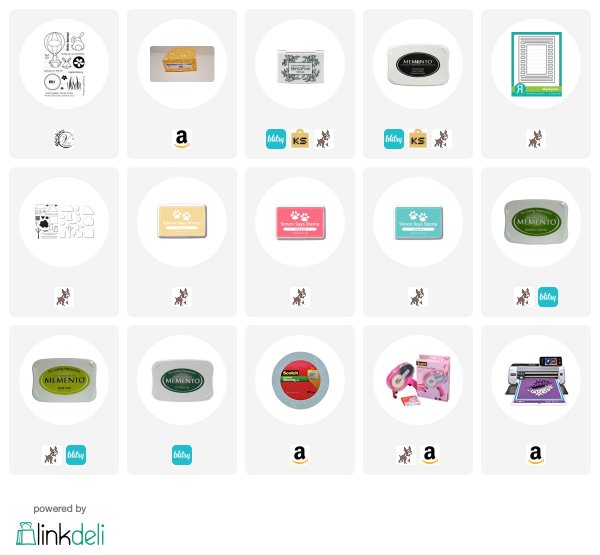
Die-cut Neenah cardstock using Reverse Confetti Striped Frame Cover Panel Die, die-cut clouds, any cloud die will work. Set clouds aside. Stamp sentiment from the Spring Is In the Air stamp set onto the die-cut frame. Using a stamp positioning tool position card base and the die-cut frame, close the lid with the card base and frame inside, using washi tape, tape the lid of the stamp positioning tool to mark where you will be stamping grass onto the card base.  Open lid, remove the die-cut frame and secure card base with magnets, position stamp on the lid in the taped area, ink stamp and stamp using Memento Inks in the colors Pear Tart, Cottage Ivy, and Bamboo Leaves and flowers using SSS Audrey Blue, Goldenlocks, and Hollyhocks inks.
 Add 3D mounting foam to the frame and clouds, position the frame over the stamped card base and adhere. Set clouds aside and adhere the frame to the 4.25" x 5.5" #110 Neenah Classic Crest cover stock. 
Stamp the bunny, the hot air balloon, and basket onto X-Press Blend It cardstock using Memento Ink Tuxedo Black. 
Color the balloon, bunny, and basket with COPIC BG's, Y's, RV's.  Using my Scan N Cut to cut the stamped and colored images, add 3D mounting foam to the back of images and position, along with clouds over the frame and card base. Add three enamel dots to finish off. 


As always, thanks for joining me today. 
New to SumMore Fun?
Check out the SumMore Fun Store


Friday, December 15, 2017

Merry Christmas + Casual Fridays Challenge Inspiration


Hi and welcome back, everyone! Today I'm sharing my inspiration for the new
CAS-ual Fridays Challenge - Dreaming of A White Christmas. Be sure to link your project for a chance to win.


How To
  • Stamp sentiment and snowflakes using Memento Ink London Fog onto Neenah #110 Cardstock(4.25"x5.5")
  • Add sequins to center of snowflakes


As always, thanks for joining me today. 

Friday, November 24, 2017

Merry and Bright + SumMore Fun Mood Board #16 Inspiration


Happy Friday, welcome back! Today I'm sharing my take on the new Mood Board over on the SumMore Fun Blog. 


 Here's the mood board, remember you can be inspired by the photos or the color palette. I really love the colors for Christmas and they seem to be very popular this year.


How To
  • I used silver with white polka dots patterned paper but you could substitute what you have on hand
  • Create mask by stamp VO Polka Dotted Christmas Tree on post-it note and fussy cut
  • Using Memento Ink - Rose Bud stamp first tree in center of white cardstock, let dry, and cover with mask, stamp teal and silver trees, let dry
  • Adhere silver cardstock to a 5.5" x 4.25" top fold cardbase 
  • Using fun foam adhere stamped panel on top of silver cardstock
  • Stamp sentiment using Versafine Onyx Black ink (sentiment is from my stash)


You can also find SumMore Fun here:


Friday, November 17, 2017

Happy Holidays


Hi and welcome back. Today I'm over on the SumMore Fun Blog sharing a few Happy Holiday cards featuring the Raisin Boat - Treemendous Stamp Set. I love stamp sets that give you loads of creative options and this one does not disappoint. 


Both cards are super simple, stamping with your favorite color inks and layering on patterned paper, easy peasy. You can use whatever color ink best matches your background paper. My favorite inks right now are Memento Inks, I've been using Memento for years and they never fail me.

Memento Dew Drop 12 Pack of Inks


 Raisin Boat Clear Stamps  Treemendous

You can also find SumMore Fun here:

Be sure to join our current mood board challenge

Wednesday, November 1, 2017

Bearing Gifts


Hello and welcome back, everyone! Today I'm taking over the Drive By Crafts Blog with Reverse Confetti's Striped Frame Cover Confetti Cuts and Bearing Gifts Stamp Set


Products

                                       Reverse Confetti: Striped Frame Cover Confetti Cuts         Reverse Confetti: Bearing Gifts Stamp Set      
Echo Park Paper Co: Christmas Delivery Paper Pad
       
                                                                                                                   
How To
  • Starting with a 5" x 6" top fold cardbase
  • Cut pattern paper 5"x 6" and adhere to cardbase
  • Die-cut white cardstock using Reverse Confetti Striped Cover Die
  • Cut Kraft cardstock to fit behind Striped Cover 
  • Use Striped Cover die-cut paper to position stamps, stamp images and sentiment using stamping tool and favorite ink on Kraft cardstock
  • Stamp bear in car image with alcohol marker friendly ink and color with alcohol markers; fussy cut
  • Add 3D mounting foam to Stripe Cover die-cut and to the back of the bear image
  • Lay Stripe Cover over Kraft paper and adhere using the 3D mounting foam
  • Adhere bear to bottom corner

As always, thanks for joining us today!
Be sure to join us on:


Friday, June 16, 2017

So Fancy with Victorine Originals


Hi, everyone and welcome! Today I'm over on the Victorine Originals Blog sharing a winter-themed card with you today. I know, we have one foot in Summer and here I am sharing a Winter-themed card with you. I will tell you a secret about myself, I'm not a Summer girl, never have been. I love Fall and Winter, it's the happiest time of the year for me. So, to say I had a little fun working with my Winter papers is an understatement.


I fell in love with this stamp when I saw it, she is just so Fancy, right? The stamp is called Lady with Three Dogs. And there is another one called Lady with Two Dogs that is Fabulous, too! 

Lady with Three Dogs (3033-M)Lady with Two Dogs

Didn't I tell you they are both Fabulous? 


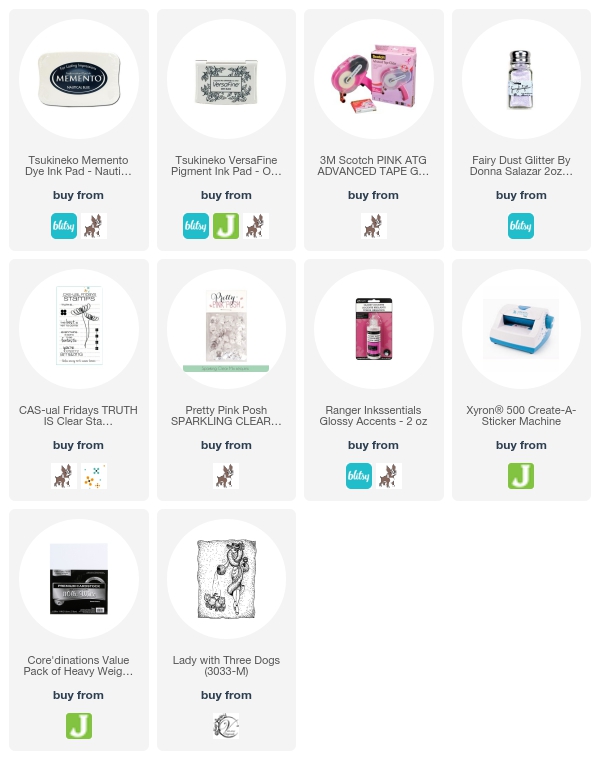
To create this card I stamped the image using Memento Ink Nautical Blue using a stamping tool, stamping the image twice. I like a sharp, dark image. Since I was going with a winter-theme,  because that coat screams winter, I decided to run the stamped image through my Xyron and covered it with glitter. Not just any glitter but my all time favorite glitter, Fairy Dust by Donna Salazar. The rest of the card is die-cutting and layering. The sentiment is stamped using VersaFine Onyx Black Ink and I added one Pretty Pink Posh Sequin. Nothing difficult about this card at all.


Did you know we are on Facebook and Instagram

Looking for more details? Join me over at The Relativity of Paper


Friday, June 2, 2017

Easy, One-Layer Birthday Card

Hi, everyone and welcome! Today I'm over on the Victorine Originals Blog sharing a fun rainbow inspired birthday card with you today. Summer is upon us and everyone wants to be outside soaking up the sun and enjoying family time by the pool, right?  So today is all about keeping it simple with this one layer birthday card. This card is quick and simple, can be used for any occasion. So let's jump into this thing.


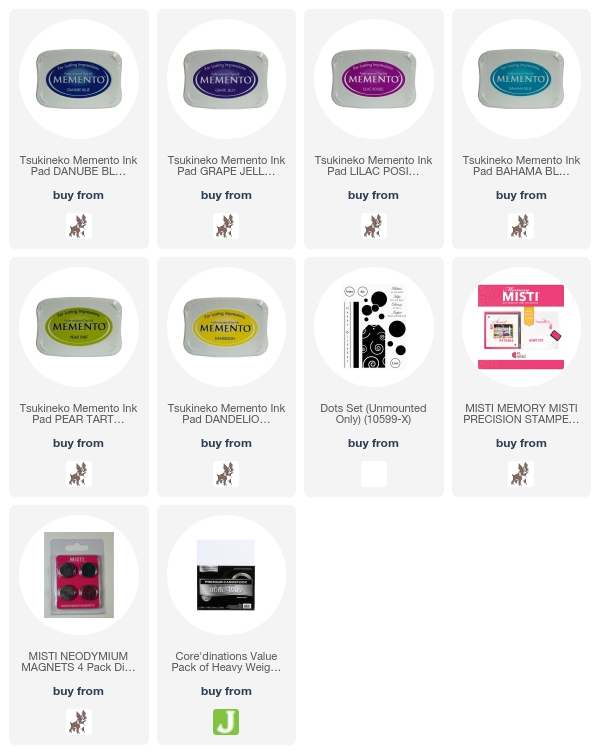
To create this card you need four things: ink, paper, stamping tool and the VO Dots Stamp Set.
 A stamping tool makes life so much easier no matter what you are stamping but especially so when stamping with this overlay technique but no worries, you can achieve this with an acrylic block too.

Here's a close-up that really explains how to do this. Simply stamp the dot overlaying each color as you move your paper when using a stamping tool. The stamping tool has the grid-lines that allow you to align your paper and keep it straight while positioning it. I can't say enough about the Memento Inks, the colors are so vibrant!


As always thanks for joining me! 

Tuesday, January 12, 2016

You're One of a Kind with Craftin Desert Divas


Welcome, welcome!  Today I'm over on the Craftin Desert Divas Blog sharing a card for Tip Tuesday. My tip is all about stamps and inks, no coloring required! Add great elements to your images by stamping fun patterns on the image. Like I did with this adorable image from the CDD Chilly Stamp Set.  By using Across The Borders Stamp Set I created a truly unique "one of a kind" narwhal.
Created In the Crafting Cave with Lisa using Craftin Desert Diva products

To create this fun card I inked up some white paper using three Memento Ink pads - Bahama Blue, Lilac Posies, Grape Jelly, I used the same inks and stamped the polka dots from Across The Border Stamp Set, then I stamped the Narwhal and sentiment using Archival Ink - Jet Black, die cut the card base using Fancy Frames Dies, die cut the speech bubble using In Line Dies, die cut the waves using Outdoor Landscape Dies layered it on my white card base using fun foam.
Created In the Crafting Cave with Lisa using Craftin Desert Diva products

Here are the CDD products I used:

5x7


http://craftindesertdivas.com/chilly/


http://craftindesertdivas.com/outdoor-landscape-dies/


In Line Dies
http://craftindesertdivas.com/in-line-dies/
As always, thanks for stopping by and have a great day!