Showing posts with label birthday. Show all posts

Tuesday, June 11, 2019

Oh, Happy Day! - Faux Watercolor & Ink Smooshing


Hi, and welcome back! If you think this girl loves ice cream, you're right! I especially love anything that has pretty watercolor, faux colored or not, ice creams on it. These cards are so fun to create because you use several different techniques to create them.  I have a video below that will walk you through the process plus a written walk-through. Watching videos is not everyone's thing, I get it.


 Okay, let's walk through the process.

FAUX WATERCOLOR PREP
You can skip to 00:56 in the video for this step

You will need to Bristol smooth paper or watercolor paper, whatever you have on hand, place it in your stamping tool, position stamp.

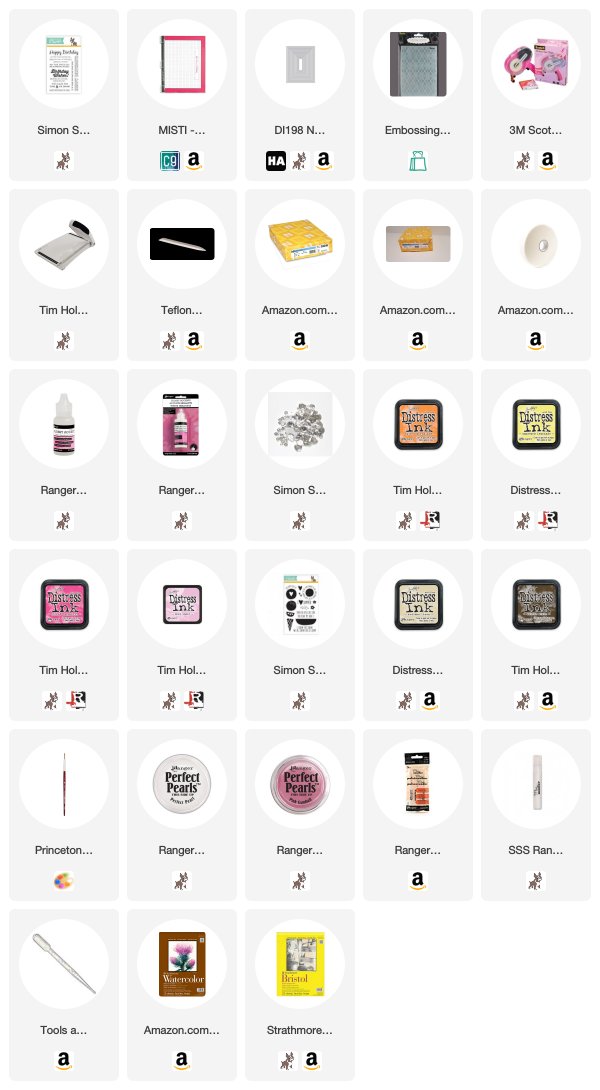
Distress Inks in the colors: Spun Sugar, Picked Raspberry, Squeezed Lemonade, Antique Linen, Walnut Stain, any stamp set that has stable images will work and sentiments. 


Ink up the stamp with Spun Sugar Distress Ink, stamp directly to the Bristol smooth paper, ink same stamp with Picked Raspberry Distress Ink, only inking part of the stamp (see photo above), stamp directly over the Spun Sugar Distress Ink you just stamped, with a watercolor brush add water directly to the stamp, close the lid of the stamping tool allowing the inks to react with the water, once you lift the lid you will have a loose watercolor look. You can take the watercolor brush directly to the stamped image at this point to move the inks around, this step is optional. Continue the steps above until you have all images done.


Stamp sentiments using Versafine Onyx Black Ink. Set these aside to dry while you work on backgrounds.

 Simon Says Clear Stamps BIRTHDAY MESSAGES SSS101391 Preview Image

BACKGROUND PREP
You can skip to 02:42 in the video for this step.

Watercolor Paper, several sheets of scrap papers to serve as shims, water, watercolor brush, Distress Inks in the colors: Picked Raspberry, Antique Linen, Walnut Stain, Squeezed Lemonade.


Lay down scrap paper for shims laying watercolor paper on top. You want to have enough shims so that when you close the lid of the stamping tool it makes direct contact with the watercolor paper and you're not putting too much pressure on the lid. Add water directly to paper with a watercolor brush.

TIP: You can spritz water directly to the lid of stamping tool but I prefer adding the water directly to paper to avoid saturated inks running all over the place. Completely personal preference. 


Smoosh distress inks on the inside of the lid and close allowing the ink and water time to react with each other. 


Lift the lid, wipe clean and continue adding inks until you are happy with the background paper.


You can air dry or use a heat gun to dry the backgrounds. I set them aside to dry while I clean up and prep my work area for die-cutting, dry embossing, sanding and assembling the cards.

TIP #2: Add Perfect Pearls to a mini mister, add water, close and shake to mix the pearls and water for shimmer spritz. Great way to get multiple uses out of the perfect pearls.


DIE-CUTTING, EMBOSSING, AND SANDING PREP
You can skip to 04:31 in the video for this step.

Hero Arts Rectangle Nesting Dies, any embossing folder will work, I used the Darice Argyle Embossing Folder, Sand Paper or Emory Board, Shimmer Spritz

Die-cut backgrounds using Hero Arts Rectangle Nesting Dies, then place in an embossing folder and crank through a die-cut machine.  

I'm using a piece of scrap sanding paper from my DIY Home Painting supplies but you can use an Emory board, sanding block, whatever you have on hand. Lightly sand the embossed background to reveal more of the pattern. Spritz with shimmer spritz. 

I wanted to show the shimmer from the shimmer spritz I made using the Perfect Pearls. 

One of the cards I did some random stamping with sentiments to create a background. 

Layer background onto 4.25"x5.5" top-fold #110 card bases using ATG Adhesive, add 3D mounting foam to the back of faux watercolor panels and center over backgrounds, add sequins using Glossy Accents.

As always, thank you for popping in. If you have any questions just leave them in the comments or you can email me at contact@lisamensing.com. 


Disclosure: I purchase all my products and by doing so I can keep my opinions real! I do not offer paid endorsements. I will never recommend a product that I would not buy again. I do participate in a few affiliate programs that allow me to earn a small commission when you purchase items through my links. This is at no extra charge to you. I love sharing through my blog post and videos and that small commission helps to offset the cost. And I'm so grateful for this.

Saturday, November 17, 2018

Happy Birthday, Lesley!


Today we are celebrating Lesley's, the owner of Trendy Twine, birthday

HAPPY BIRTHDAY!

I hope your day is Magical!


I've been told Lesley is a huge fan of all things Disney! Of course, I knew exactly which direction to take because I too love all things, Disney! 


It also helps that I just happened to have Trendy Twine in Gray Licorice and Totally Red, perfect for Disney projects. I simply cut out balloons from Silhouette Library, used my sketch pens with the Waltograph fonts to create the sentiments, colored them in with a 110 Copic Marker and added a little white with a gel pen. I did cut two holes out of the cardstock using my Silhouette to run the Trendy Twine through. I'm using #110 solar white coverstock for the card base and ran Mickey Mouse Washi tape along the edge completely. Stamped random stars around the balloons in matching colors. 


I think the message inside sums it up! Let's face it if your birthday is that magical, well, you had an amazing birthday! 

Be sure to hop over to the Twine It Up Blog and leave Lesley a magical birthday wish! I know she would love that! 


Friday, June 15, 2018

Robo Party + 6 x 6 Paper Pad Storage


Hi and welcome everyone! Today I'm over on the SumMore Fun Blog sharing these two fun birthday cards for boys and a great way to use up those scraps of patterned papers. I'm also happy to say that I have a video tutorial for you on below or you can head over to my YouTube channel to watch.


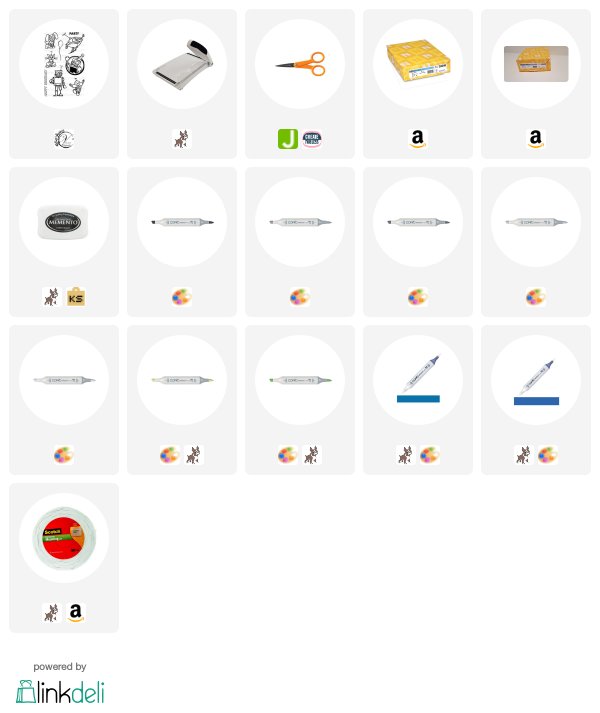
The images with the Raisin Boat Robo Party Stamp Set are adorable, such a great set for boys, too. 


The patterned paper is from my stash but you could use any patterned paper
you have on hand. 


How-To


Be sure to join our current challenge for a chance to win a $20 credit to the online store.  
And as always, thanks for joining me today. 
New to SumMore Fun?
Check out the 
SumMore Fun Store
SumMore Fun Blog
SumMore Fun Facebook Page
SumMore Fun Instagram


I have a full list of supplies below. Some of the products I receive for free,those will be marked with an asterisk(*). All other products were purchased by me personally for this blog post. I may earn a small commission if you purchase items, at no extra charge to you, through the links listed below. I use the commission to buy more supplies, create more projects, and video tutorials.


Friday, February 16, 2018

Totes for Small Candles


Happy Friday, everyone! Today I'm over on the SVG Attic Blog sharing this Totes Leaves for Small Candle Holder with a twist. Instead of using it for Fall Gift Giving I'm using it for a fun Birthday Gift. 

This is the perfect gift for Teachers, Co-workers, or neighbors. I'm thinking about creating a few to have on hand. 


I used 12 x 12 papers from Anna Griffin's Antique Toile Paper Pad from my stash.


I stamped the birthday sentiment and flower on the tag.  You can find the Candle Holder and Bow from the Witch Hat Bow Rocker Card at SnapDragon Snippets and the Silhouette Store. 


As always, thanks for joining us today!


Friday, July 7, 2017

Worlds Best Dad

Happy Friday everyone and welcome. I'm over on the SVG Attic Blog today sharing a quick and simple gift card box. Wednesday was my Dad's birthday and I needed a quick gift card box that would hold not only a gift card but a few miniature Snickers underneath. Of course, JGW GONE FISHING KIT from SVG Attic has a great gift card box included. It was the perfect size for my gift card and eight miniature Snickers fit perfectly under the insert. 


To create this box I used my Silhouette Cameo and Photoplay's Family Ties. This box and those papers were meant to meet! That's all I can say. I didn't add the accent pieces to the sides of the box top because the paper is wood grain and I love the way it looked. I did add the top accent piece using fun foam to add some dimension, wrapping the twine around the top accent and then adhering it to the box lid.


 As always, thanks for joining us! 

Friday, June 2, 2017

Easy, One-Layer Birthday Card

Hi, everyone and welcome! Today I'm over on the Victorine Originals Blog sharing a fun rainbow inspired birthday card with you today. Summer is upon us and everyone wants to be outside soaking up the sun and enjoying family time by the pool, right?  So today is all about keeping it simple with this one layer birthday card. This card is quick and simple, can be used for any occasion. So let's jump into this thing.


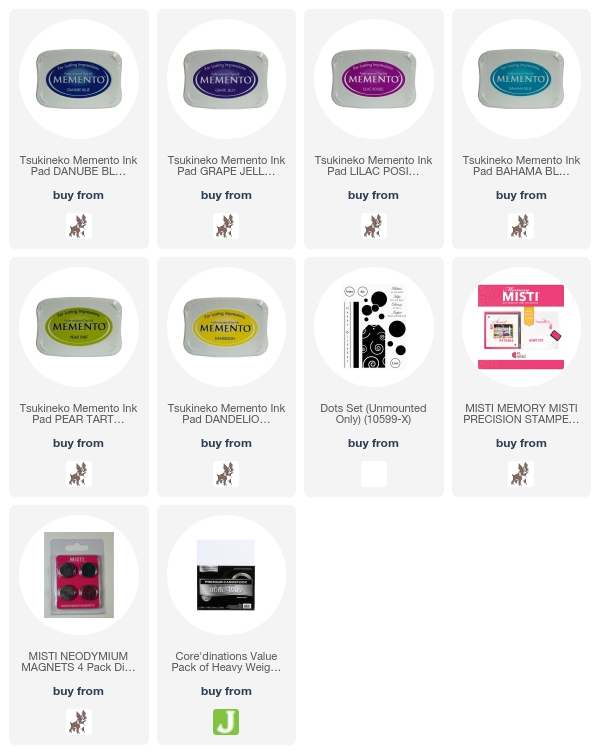
To create this card you need four things: ink, paper, stamping tool and the VO Dots Stamp Set.
 A stamping tool makes life so much easier no matter what you are stamping but especially so when stamping with this overlay technique but no worries, you can achieve this with an acrylic block too.

Here's a close-up that really explains how to do this. Simply stamp the dot overlaying each color as you move your paper when using a stamping tool. The stamping tool has the grid-lines that allow you to align your paper and keep it straight while positioning it. I can't say enough about the Memento Inks, the colors are so vibrant!


As always thanks for joining me! 

Friday, March 31, 2017

Window Box Cards


Hi, everyone and welcome! Today I'm over on the SVG Attic Blog sharing my take on the Window Box Card from the CG Box Cards 2 Collection. This card comes together quickly. I did a little embossing with a wood grain and stamped a die-cut banner for the sentiment. 


So while I was putting the finishing touches on this card, I got to thinking(scary) what if I pulled a few files from other SVG Attic Collections and created an Easter Card. So back to the machine I head cutting the Window Box Card minus the flowers. I then grabbed the carrot from the JGW Happy Easter Upright Bunny Box and the Chocolate Bunny from the SVG Attic Easter Elements for resizing and cutting. 

I stamped the wood grain, embossed the clouds, die-cut the banner and fence, stamped my sentiment and finished off with pearls. 


As always, thanks for joining us! 

Wednesday, November 16, 2016

Bubblegum, Bubblegum. In A Dish...


Hi, everyone! Welcome to the CDD Daily Post being brought to you by The Relativity of Paper. What do you get when you mix Craftin Desert Divas Shake It Up Dies with a childhood rhyme from a game? A fun birthday card. 


 Do you remember Bubblegum, Bubblegum in a dish?
You would stand in a circle, fist out; the counter would tap everyone's fist including their own (this usually required the counter to tap their chest because that was the cool thing to do), the person you ended on picked a number 1 through 20, then the counter started tapping everyone's fist while counting to said number. Whichever fist the counter ended on was out, and you would put your hand behind your back, both fists out meant you lose! Oh, times were so much easier, right?


The inside sentiment reads: 
We hope all your bubble gum wishes come true. Happy Birthday!

Here are the products I used:


Fancy Frame Dies

Flag Banner Dies

CARD BASE:
  • 4.25"x 5.5" card base - 8.5" x 11" #110 cardstock scored at 5.5" and cut at 4.25" to create to top fold card bases
LAYERS:
  • Die-cut pink patterned paper using largest Fancy Frame Die
  • Die-cut yellow patterned paper using Shake It Up Dies
  • Die-cut bottom half of bubble gum machine with matching patterned papers and silver cardstock
  • Type sentiment on white cardstock and die-cut using Flag Banner Dies


ASSEMBLE:
  • Add fun foam to the back of pink patterned paper and adhere to card base
  • Position die-cut circle 
  • Add 3D Mounting Foam to back of bottom portion of machine and adhere to card base being sure to align with circle to create your bubble gum machine, add die-cut details to finish off the machine
  • Adhere bubblegum either using die-cut circles from the Shake It Up Dies or using Puffy Stickers like I did here


You can find all the details on my blog, The Relativity of Paper


As always, thank you for joining us!


Affiliate Links are provided when available through ShareASale, Affiliatly, and CJ Affiliate. If you purchase through these links, I will earn a small commission at no extra charge to you.  I buy my products, and occasionally I do receive free products to review, and I will disclose that information when I do.


Saturday, October 15, 2016

October Birthday Card


Hi and welcome, everyone! Lisa from, The Relativity of Paper, sharing a fun October Birthday card with you. I used Sweet Kisses and Fright Night Stamp Sets to create this card for a special October Birthday. 


 By adding a few holiday elements and changing your colors, you can create a birthday card for any holiday or season.  I have to say I pile it on with this card which is so out of my comfort zone. I'm pretty pleased with the outcome and will be trying my hand at it again. Do you like piling it on or keeping it simple?


Here are the products I used:


Fright Night


Flag Banner Dies

Fancy Frame Dies


You can join me on my blog for all the details including a step-by-step tutorial. 

As always, thank you for joining us!