Showing posts with label Halloween. Show all posts

Wednesday, September 25, 2019

Fuzzy Spiders and Glow In The Dark Webs


Hi, and welcome back! Today I'm Guest Designer for Whimsy Stamps Blog, and I had the pleasure of creating with these adorable Fuzzy Spiders. How perfect are they for those Too Cute to Spook cards you need for this year's Halloween. As always, I have a video to share with you, and you can find it over on my YouTube Channel or on my website.


HOW TO
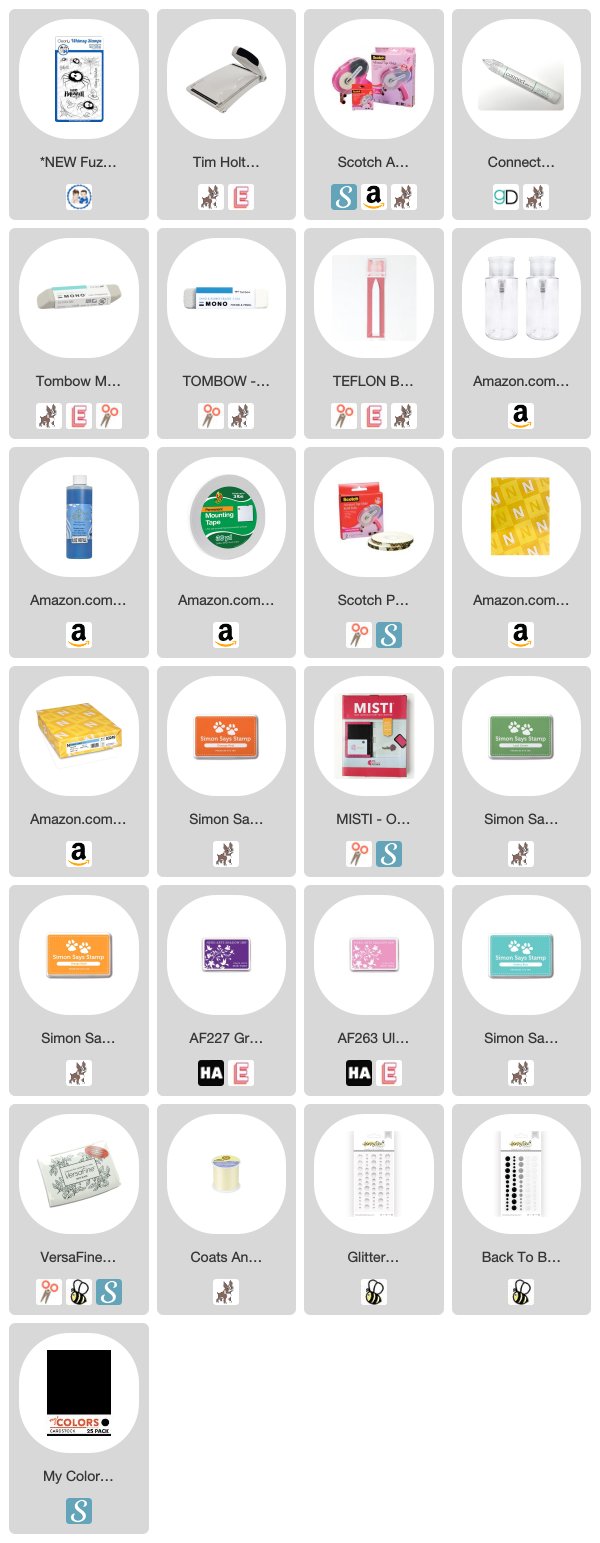
  • Stamp the medium spider five times using bright inks in the colors Lime Green, Ultra Pink, Orange Slush, Grape Juice, and Audrey Blue onto #80 cardstock.
  • You can fussy cut the spiders out, but I used the Scan N Cut. It makes things a bit quicker.
  • Cut a piece of acetate to 37/8" x 37/8", adhere to stamped and die cut panel using a heavy-duty adhesive. Add 3D mounting to the backside of the acetate. Be sure there are no gaps between your foam to ensure your sequins don't fall out. Essentially, you're creating a dam for the sequins. Lay sequins on top of a card base, remove the backing from foam, and adhere panel over sequins, pressing firmly to create a tight bond between paper and foam. Set the shaker card aside.
  • Stamp the Happy Halloween sentiment in the center of the one card base using Versafine Onyx Black Ink.


  • Stamp cobweb on the card base using Versafine Onyx Black ink.
  • Add 3D mounting foam to the back of two of the stamped and didie-cut panels and adhere them to the card bases with the stamped sentiment and image. I do believe that finishes up the card bases. Now we just need to add the spiders, sentiment banners, and enamel dots.
  • Add googly eyes with liquid adhesive and an action wobble to the back of the lime green spider, Adhere to the card base. Use mounting foam to adhere to spiders and sentiment strips.
How cute is this big fuzzy guy?

  • I had an extra stamped and die cut panel, added mounting foam to the back of it, use the lime green ink and blend the ink straight to a card base, stamp the spider with black ink, run through Scan N Cut or fussy cut, add mounting foam to the back of the spider, stamp the sentiment, and then adhere the stamped, die-cut panel over the ink blended card base, add spider and finish off with two black enamel dots for the eyes. Different sized enamel dots add a fun, goofy touch making him extra cute.

Thanks for joining me.


Friday, August 23, 2019

If The Broom Fits

Hi, and welcome back! Today I'm over on the Pink and Main Blog sharing a Halloween card featuring Pink and Main's Witch Brew Stamps and Dies along with the Not Too Spooky Paper Pad. I also have a quick video tutorial over on my YouTube Channel or website.

This card is very easy to create, and you can make multiples at one time, using different patterns with each card allows you to change the look with minimal effort.

So to get started I do a little prep work. I create a template using a 4" x 5.25" piece of cardstock, use the inexpensive stuff, it's just a template. Center the coordinating die-cut on the cardstock and run through a die-cutting machine. You can skip the template, cut your pattern papers, use one of the pattern papers instead. I didn't want to take a chance on messing up my pattern paper, so I played it safe with the template.
  • Lay a 4.25" x 5.5" card base into a stamp positioning tool, center the template on the card base, now position the stamp, lift the stamp with the lid, and set the template to the side.
  • Ink blend two shades of yellow where you will be stamping the image. You can use the template and add light pencil marks, so you know exactly where to lay the ink.
  • Stamp the image using black ink.
  • Now you can cut your pattern paper to the same size as the template, lay the template on top of the pattern paper, nestle the die into the template, secure with a piece of post-it tape and run through your die-cut machine.
  • Add 3D mounting foam to the back of the pattern paper, center over stamped, press firmly to adhere to the card base.
  • Die-cut bats using black cardstock and adhere to the stamped image using 3D mounting foam.
  • Stamp the sentiment "if the broom fits" using Versafine Onyx Black ink, add to the card using 3D mounting foam. Add one tiny bat to the sentiment and any remaining bats around the stamped image. Finish off with sequins.


Thanks for joining me today! I'll be back on the 30th and hope you'll join me again. Until then, feel free to visit my website, lisamensing.com, and have a great week.


Monday, October 15, 2018

Trendy Baker's Twine - You Are Spooktacular


Hello and welcome, everyone!

Guest Designer, Lisa from The Relativity of Paper. I'm super excited to be sharing another fun sweet treat project showcasing the October's featured products, Gray Licorice Trendy Twine and Skinny Candy Chutes.  


This treat holder makes a sweet gift for teachers, kids or someone in the office. Skip the envelope with this one and place it on a desk or counter. The recipient will have a nice Halloween surprise waiting for them. 


This is such an easy project. I have a pictorial below. 

You will need a 7.75"(H) x 8.25"(W) in. heavy cardstock for this project. I recommend at least #80 lb, that's what I used. 

Lay the paper horizontally on scoreboard and score at the .75", 1.5" and 2.25" marks. Set aside. 
Die-cut the top of the pattern papers, align and adhere together. Trim so the pattern papers are 8.125" (W). Set aside.
Using a temporary adhesive or post- it tape center the pattern papers on the cover stock ABOVE the .75" score line. 
Flip the paper over on a paper trimmer and cut at 1.5", 2.25", 6" and 6.75" marks cutting from the .75" to the 2.25" scored lines creating straps. (See picture below) Make sure not to cut past those scored lines. 
Add a stronghold adhesive as shown in the picture above. Flip the paper over and permanently adhere the pattern papers. Be sure to never add adhesive over the cut lines, they need to be able to move freely. Flip back over and fold on the .75" score lined up, adhering it to the back of the next section. 
Score the cover at 4.25" and fold to create the card. 
You should be able to slide a skinny candy chute into the two straps on the front of the card. 

Add candy to the Skinny Candy Chute, slide it into place and secure by wrapping Gray Licorice Trendy Twine around the candy chute and tie. I stamped the You Are Spooktacular sentiment from the Annie's Paper Boutique Happy Halloween Stamp Set on the inside of the card. 
Now the fun part, decorating the front of the card. And that brings us back to this. 


Products I used from Annie's Paper Boutique


Thanks for stopping by. 

If you are new to Trendy Twine, you will want to check out these fun places:
Shop for Trendy Twine HERE
Follow Trendy Twine on Facebook


Friday, October 5, 2018

Trendy Baker's Twine - Hand Over the Candy


Hello and welcome back, everyone! 

Today I'm over on the Twine It Up Blog as the guest designer for the month of October. I'm so honored and super excited to have this opportunity. 

This month's featured products are

I'm sharing a sweet treat and card combo. 


To create the sweet treat you will need a Skinny Candy Chute, painter's tape or washi tape, inexpensive paint brush, and orange, yellow and white chalk paint. 

Using tape, tape off 5 sections to be painted. Starting with orange chalk paint, paint the bottom section completely, paint half of the fourth section with orange, too. Blend yellow chalk paint into orange (fourth section) while the paint is still wet. Paint the third section yellow and half of the second section yellow. Finish off with white chalk paint blending white with yellow in the second section and completely paint the first section white. Let dry. Fill with candy corn. 


To create the card I used pattern paper from my stash with coordinating stickers, Gray Licorice Trendy Twine and Annie's Paper Boutique Happy Halloween Stamp Set.


I created the sentiment background paper simply by repeat stamping the sentiment in orange and yellow ink and stamped the "trick or treat" sentiment over it using black ink. All the sentiments are from the Happy Halloween Stamp Set. Set to the side. Mat a 4.25"x5.5" top-fold card with pattern paper, layer the stamped background paper using fun or 3D mounting foam. Using an edge die-cut cut a piece of pattern paper and adhere to the left side of the card. Add stickers using 3D mounting foam, adhere clear sequins and embellish with Gray Licorice Trendy Twine. Stamp Happy Halloween inside the card. 


Products I used from Annie's Paper Boutique


Thanks for stopping by. 

If you are new to Trendy Twine, you will want to check out these fun places:
Shop for Trendy Twine HERE
Follow Trendy Twine on Facebook


Friday, September 28, 2018

Creepy Crawlies with SVG Attic


Happy Friday and welcome back, everyone! 

Today I'm over on the SVG Attic Blog sharing a few harmless 
Creepy Crawlies! 

I feel like I am always making something for others but rarely make things for myself. Does anyone else feel this way? So, I decided to create a few fun Halloween decorations for my craft room. I have a few ceramics sitting around that I store on a bottom shelf, out of view, during the year and most years I decorate with my store-bought decorations but this year I refuse to bring decorations into my home until the renovations are completed and this brings us back to the
 Creepy Crawlies! 

I love Halloween and knew I wanted a few decorations in my craft room since I'll be spending a lot of time in there this month. I love the way the banner turned out and decided to add a few spiders crawling across the canvas. 


To create the banner you will need the Web Semi Circle Overlay and Flourished Spider Card files. You will only be using the orange background and spider from the Flourished Spider card.
Resize the webs to fit your needs. I cut two sizes, alternating between the two. I cut the Flourished Spider the same size for the whole banner. Once I had all my pieces cut I ran Trendy Twine Gray Licorice through the web. To secure the Flourished Spider I used 3D mounting foam and adhered it over the Trendy Twine to secure it in place, too. 


The spiders can be found in the Silhouette Design Store - Design ID #154108. They are the same spiders in the center of the Flourished Spider. I added 3D mounting foam to the back of them to stick to the canvas.  I used Black and Orange cardstock from my stash to create my Creepy Crawlies. 

As always, thanks for joining us! 


Friday, August 31, 2018

Autumn and Halloween Diamond Cards


Hi and welcome back everyone. Today I'm over on the SVG Attic Blog sharing a few cards I created using the Double Diamond Card from the JGW Welcome to Booville Collection.  This card is unique in shape and I really enjoy using it. Last year I created a Pirate themed card that would be perfect for a party invitation using this same card base, you can see it here


The envelope for this card is so easy to customize. I love that I'm able to use matching paper on it. 

Here are the cards I created, one for Autumn and one for Halloween. 


Here you see the diamond shape that makes this card so much fun. 

The paper and die-cut pieces are from Pebbles Midnight Haunting Collection. You can head over to my blog for all the product details. 


Using my Silhouette Cameo I cut out the Double Diamond Card base using Cardstock Warehouse Oatmeal Kraft paper, cut the accent pieces using 6 x 6 patterned papers from the Pebbles Midnight Haunting Collection, added black ribbon and enamel dots to dress the cards up a bit. I stamped the word Autumn using Versafine Onyx Black Ink. The matching envelopes were cut using the same Cardstock Warehouse Oatmeal Kraft paper and Pebbles Midnight Haunting papers. Card and envelope bases were assembled using quick dry adhesive. Embellishments were added using 3D mounting foam. Enamel dots are self-adhesive but I add a dot of quick dry adhesive. 


As always, thanks for joining us! 


Friday, October 27, 2017

Witches Gather

Happy Friday, everyone! Today I'm over on the SVG Attic Blog sharing one last Halloween project with you for the year featuring the JGW 5"x7" Marquee and Witch Hat 3D Bow Rocker Card from the new JGW Witches Gather Kit


How To

  • Assemble the 5"x7" Marquee following the tutorial over on Needles 'n' Knowledge Blog - Mini Marquee Signs omitting the lights. To cover the holes I used the solid frame (K) and enlarged it to cover the holes, turning the marquee into a frame. Set aside to dry.
  • Be sure to check out the tutorial on the Witch Hat 3D Bow Rocker Card over on the Needles 'n' Knowledge Blog to become familiar with the pieces. The first step is to move piece B, E, F and G to the cutting mat in your design software to reduce the size to fit inside the frame. Once you have the four pieces cut out, assemble the bow (E,F,G), let dry, add 3 layers of 3D mounting foam to the back of the hat (B), adhere bow to front of hat, let dry, then center in the frame and adhere using the mounting foam. 
  • I created a full size Witch Hat 3D Bow Rocker Card to set to the side. The Rocker Card is super simple following the tutorial provided by Jodi, Witch Hat with Bow Rocker Card.


As always, thanks for joining us today!
New to SVG Attic? Check out these awesome places!
SVG Attic Website
SVG Attic Facebook Page
SVG Attic Fanatics Facebook
SVG Attic Blog
SVG Attic Pinterest

The kraft cardstock is from stash. I purchased it at Hobby Lobby some time ago. 

Friday, October 13, 2017

Victorine Originals Mood Board #13

Happy Friday and welcome back, everyone! Today is the start of a new mood board on the Victorine Originals Challenge Blog. Be sure to hop over and check out all the amazing projects by the Design Team and enter for a chance to win a $20 GC to the Victorine Originals Online Store. Double that if you use Victorine Originals and/or Raisin Boat products.


HOW TO


As always thanks for stopping by!