Showing posts with label Patterned Paper. Show all posts

Tuesday, July 16, 2019

Faux Shaker Gate-fold Card


Hi and welcome! Today I'm sharing a Faux Shaker Gate-fold card, that's a mouth full. This card is super simple. Over on the Honey Bee Stamps Facebook Page - Buzzworthy Challenge it's all about the patterned paper, and I do love me some patterned papers. And as luck would have it, I purchased the Honey Bee Stamps 6x6 Paper Pads a few months ago. Hello, there's my sign, right?  I've linked the Buzzworthy Challenge page just in case you want to join in the fun. Now, let me tell you how easy this card is to make. 


HOW-TO

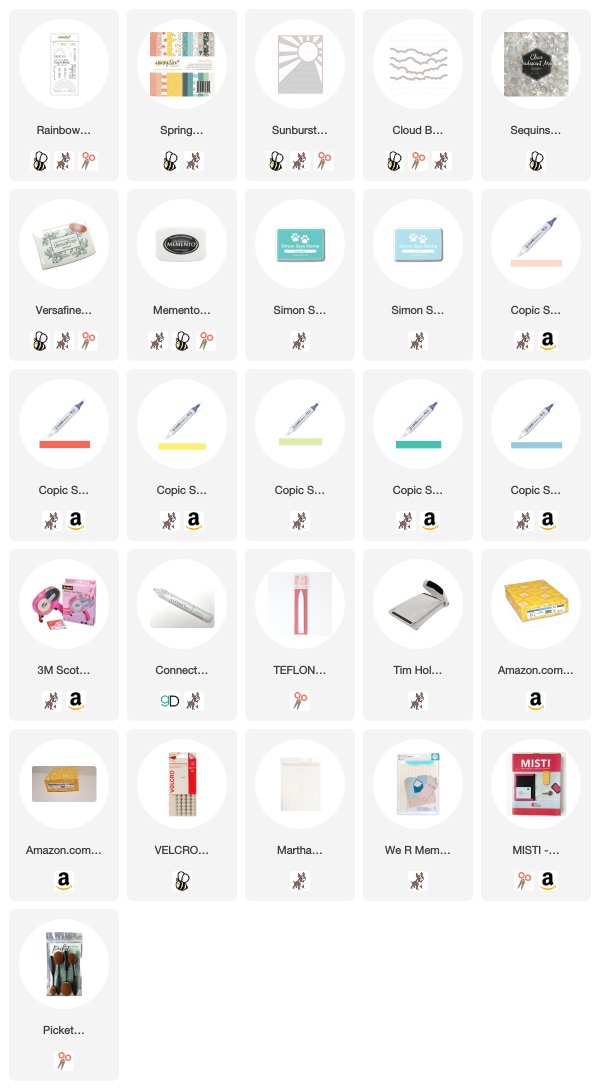
  • Create gate-fold card using 5.5" x 8.5" piece of cardstock score 2 1/8" and 6 3/8" 
  • Create a stenciled ink-blended background; die-cut scrap paper with the Honey Bee Stamps Cloud Borders; using ink of your choosing and blender brushes, ink blend a 4.25" x 5.5" card panel; cut in half with paper trimmer heightwise (vertical); adhere to the front of gatefold card using Gina K Connect glue.

  • Die-cut patterned paper from the Spring Fling paper pad using the Honey Bee Stamps A2 Cover Plate Sunburst; cut in half using paper trimmer heightwise (vertical)
  • Add 3D mounting to the back of Sunburst and adhere to ink-blended cloud background.
  • Stamp the rainbow from Rainbow Wishes Stamp set along with the sentiment; die-cut sentiment and fussy cut rainbow; color rainbow with Copics in the colors R08, R02, Y15, BG18, B93; add mounting foam to the back (right-side only) of the rainbow and adhere to right flap of gate-fold card; add a small velcro circle to left side of rainbow and left flap of the card to help keep closed (optional); adhere sentiment to rainbow.

  • Cut one piece of patterned paper from the Spring Fling paper pad to 4"x 5.25"; adhere to the inside of the card; stamp a sentiment or leave blank for a handwritten message.
  • Cut two pieces of patterned paper from the Spring Fling paper pad to 2' x 5.25"; adhere to inside flaps. 


As always, thank you for taking the time to join me. 


Be sure to follow me on 


Friday, June 15, 2018

Robo Party + 6 x 6 Paper Pad Storage


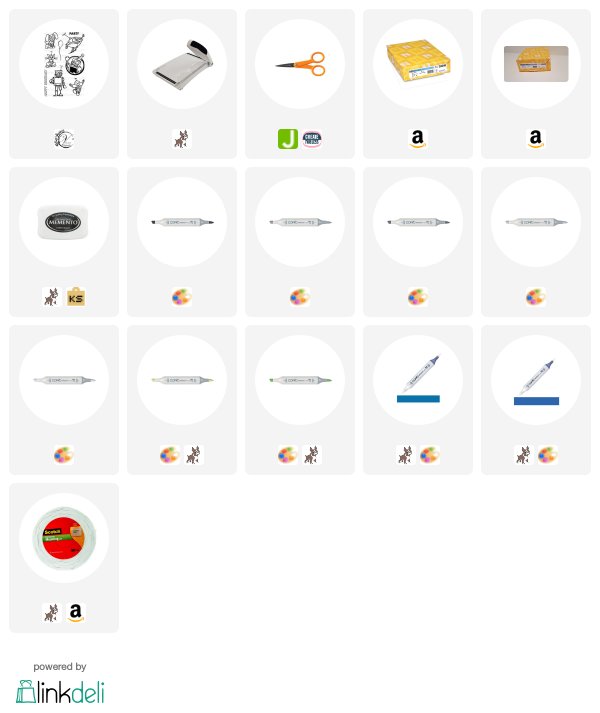
Hi and welcome everyone! Today I'm over on the SumMore Fun Blog sharing these two fun birthday cards for boys and a great way to use up those scraps of patterned papers. I'm also happy to say that I have a video tutorial for you on below or you can head over to my YouTube channel to watch.


The images with the Raisin Boat Robo Party Stamp Set are adorable, such a great set for boys, too. 


The patterned paper is from my stash but you could use any patterned paper
you have on hand. 


How-To


Be sure to join our current challenge for a chance to win a $20 credit to the online store.  
And as always, thanks for joining me today. 
New to SumMore Fun?
Check out the 
SumMore Fun Store
SumMore Fun Blog
SumMore Fun Facebook Page
SumMore Fun Instagram


I have a full list of supplies below. Some of the products I receive for free,those will be marked with an asterisk(*). All other products were purchased by me personally for this blog post. I may earn a small commission if you purchase items, at no extra charge to you, through the links listed below. I use the commission to buy more supplies, create more projects, and video tutorials.


Friday, June 2, 2017

How Do You Use Patterned Papers?

Hi, everyone and welcome! The topic of today's post is patterned papers. If you are a paper crafter like myself, at some point in time you have probably hoarded patterned papers, right? It's okay to admit this. I mean I would be lying if I said I didn't have papers dating back to the late 90's, early 2000's in my stash right this second. Hey, someone has to do it. But at what point did you stop and say, "Alright, already, some of this has to be used" or maybe you haven't reached that stage just yet. No worries, it will happen. So what do you with all that patterned paper? Make pretties, of course! 


I like to use patterned papers that don't have a busy pattern to stamp and color on. Yes, I color directly onto the patterned paper. You just have to be careful not to lay too much color down, especially, alcohol ink because it has a tendency to bleed. I've even lightly used Zig Clear Color Real Brush before, again with that light word. So, you should go dig through that collection of patterned papers and grab some stamps and get to stamping. When you're done be sure to link your beauties up in the CAS-ual Fridays Challenge - Use Patterned Papers for a chance to win a $25 Gift Certificate to CAS-ual Fridays Online Shop.

Let me highlight the rules for you:

No product requirements, no style restrictions, enter as many projects as you like(separately, of course), and be sure to link to your PROJECT post. 

Just click the photo below to be taken to the CAS-ual Fridays Challenge Blog and join in the fun! 


CARD BASE
4.25"x 5.5" white card base

LAYERS
Patterned Papers from my stash

STAMP
Stamp Truth Is and Mon Ami flowers and sentiments onto patterned papers

COLOR
Color using alcohol markers

ASSEMBLE
Adhere stamped/colored patterned papers to card base
Finish off with sequins and/or enamel dots

I hope you'll  link your project in the challenge, I really love seeing what everyone enters. Plus, it's a great way to win some goodies. 

As always thanks for joining me! 

New to CAS-ual Fridays or just looking for Inspiration?

Monday, June 8, 2015

Use 3 or More Patterned Papers with Eureka! Stamps Challenge #144


It's time for a new challenge over at 
This one makes me happy! I love paper especially patterned paper! 
YES! What is your favorite type of challenge?

Eureka


http://www.eurekastamps.blogspot.com/
In Order to to Qualify for Prizes: please be a Follower of the Eureka Stamps Blog
*** THE PRIZE FOR WINNING OUR CHALLENGE IS 2 DIGITAL IMAGES OF YOUR CHOICE FROM OUR STORE. HOWEVER, IF YOU ENTER AND WIN WITH A EUREKA STAMPS IMAGE, YOU WILL WIN 3 DIGITAL IMAGES OF YOUR CHOICE***
This is one of the cutest images for little boys! 
You can use it so many ways. Definitely, one to have in 
collection.
Colored image with COPICS
4 - Squares cut using PPP Stitched Banner 
1 - 5x5 white cardstock for card base
2 - 4.75x4.75 AC #Summer Paper, 1 die cut using PPP Stitched Pocket Die, see below
Layered together and finished off with 
1 - Queen & Co. Twinkle Goosebumps
 1 - 4x3 cut white cardstock stamped with sentiment
All the supplies are listed below with links.
I love the papers from AC #Summer 6x6 Paper Pad so much! I've used papers from that stack 
on 3 or 4 of my latest cards. It's bright and cheery, great for summer with sunglasses, ice creams, and
cameras! So cute!

I'm sharing the envelope with you to show how I embossed the
flap and used scraps to make matching seals. 
These seals add an extra special touch and are so super easy to make.
And if you're like me, you don't like scraps piling up. 
I just run my scrap through my little Xyron Sticker Maker first 
and then die cut. I leave the backing on them until I'm ready to use. 
You could even stamp them with a Hello or any sentiment for that matter! 
Now it's your turn to show us your take on