Hi and welcome! Today I'm sharing a Faux Shaker Gate-fold card, that's a mouth full. This card is super simple. Over on the Honey Bee Stamps Facebook Page - Buzzworthy Challenge it's all about the patterned paper, and I do love me some patterned papers. And as luck would have it, I purchased the Honey Bee Stamps 6x6 Paper Pads a few months ago. Hello, there's my sign, right? I've linked the Buzzworthy Challenge page just in case you want to join in the fun. Now, let me tell you how easy this card is to make.
HOW-TO
- Create gate-fold card using 5.5" x 8.5" piece of cardstock score 2 1/8" and 6 3/8"
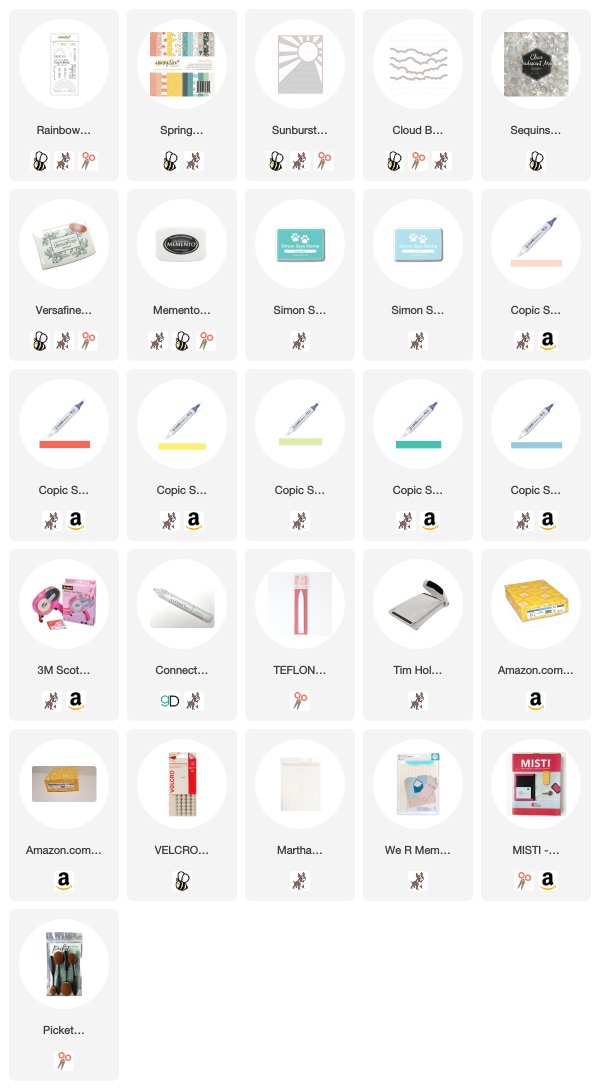
- Create a stenciled ink-blended background; die-cut scrap paper with the Honey Bee Stamps Cloud Borders; using ink of your choosing and blender brushes, ink blend a 4.25" x 5.5" card panel; cut in half with paper trimmer heightwise (vertical); adhere to the front of gatefold card using Gina K Connect glue.
- Die-cut patterned paper from the Spring Fling paper pad using the Honey Bee Stamps A2 Cover Plate Sunburst; cut in half using paper trimmer heightwise (vertical)
- Add 3D mounting to the back of Sunburst and adhere to ink-blended cloud background.
- Stamp the rainbow from Rainbow Wishes Stamp set along with the sentiment; die-cut sentiment and fussy cut rainbow; color rainbow with Copics in the colors R08, R02, Y15, BG18, B93; add mounting foam to the back (right-side only) of the rainbow and adhere to right flap of gate-fold card; add a small velcro circle to left side of rainbow and left flap of the card to help keep closed (optional); adhere sentiment to rainbow.
- Cut one piece of patterned paper from the Spring Fling paper pad to 4"x 5.25"; adhere to the inside of the card; stamp a sentiment or leave blank for a handwritten message.
- Cut two pieces of patterned paper from the Spring Fling paper pad to 2' x 5.25"; adhere to inside flaps.
- Add Honey Bee Stamps Clear Iridescent Mix sequins to open areas of Sunburst to create the look of a shaker card.
As always, thank you for taking the time to join me.
Be sure to follow me on


No comments:
Post a Comment