Showing posts with label SumMore Fun. Show all posts

Friday, July 13, 2018

Take Me Out to the Ball Game!


Happy Friday! Today I'm over on the SumMore Fun Blog sharing a card that's perfect for the Baseball fans in your life.


Using the colors from the current mood board I stamped the bat, glove, ball and music from the Victorine Originals Baseball Set using Red, Blue and Brown inks and cut out using Scan N Cut. Dry embossed Raisin Boat Bear Cub cardstock with star embossing folder and adhered to a 4.25 x 5.5" Raisin Boat Red Delicious cardstock base. Add 3D mounting foam to the cut out elements and arrange on front of card. Add white cardstock to inside of card and stamp with sentiment. 


Please be sure to join our current mood board for a chance to win. 


Be sure to use code LISA10 during checkout on the SumMore Fun Online Store for 10% savings. 

And as always, thanks for joining me today. 
New to SumMore Fun?
Check out the 
SumMore Fun Store
SumMore Fun Blog
SumMore Fun Facebook Page
SumMore Fun Instagram


Friday, March 23, 2018

Going Up, Up and Away!


Happy Friday, everyone and welcome! Today I'm taking over the SumMore Fun blog with this cutie from the Raisin Boat Spring Is In the Air Stamp Set. This is a great set for Spring and Easter, lots of possibilities with this one. 
This card was created using white cardstock, colored inks, COPIC markers and a few die-cuts from my stash. 

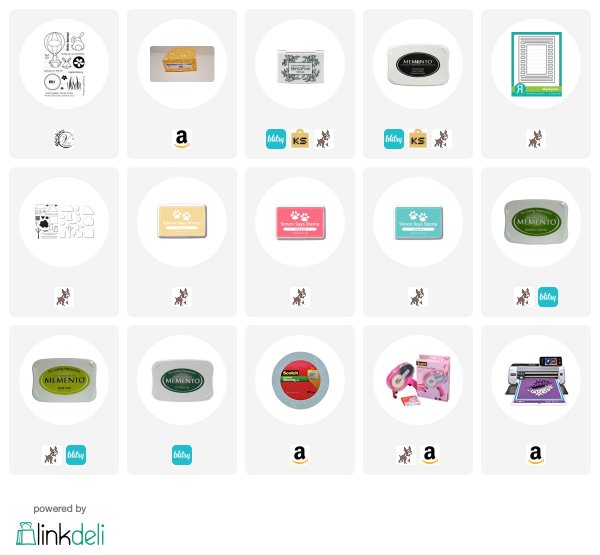
Die-cut Neenah cardstock using Reverse Confetti Striped Frame Cover Panel Die, die-cut clouds, any cloud die will work. Set clouds aside. Stamp sentiment from the Spring Is In the Air stamp set onto the die-cut frame. Using a stamp positioning tool position card base and the die-cut frame, close the lid with the card base and frame inside, using washi tape, tape the lid of the stamp positioning tool to mark where you will be stamping grass onto the card base.  Open lid, remove the die-cut frame and secure card base with magnets, position stamp on the lid in the taped area, ink stamp and stamp using Memento Inks in the colors Pear Tart, Cottage Ivy, and Bamboo Leaves and flowers using SSS Audrey Blue, Goldenlocks, and Hollyhocks inks.
 Add 3D mounting foam to the frame and clouds, position the frame over the stamped card base and adhere. Set clouds aside and adhere the frame to the 4.25" x 5.5" #110 Neenah Classic Crest cover stock. 
Stamp the bunny, the hot air balloon, and basket onto X-Press Blend It cardstock using Memento Ink Tuxedo Black. 
Color the balloon, bunny, and basket with COPIC BG's, Y's, RV's.  Using my Scan N Cut to cut the stamped and colored images, add 3D mounting foam to the back of images and position, along with clouds over the frame and card base. Add three enamel dots to finish off. 


As always, thanks for joining me today. 
New to SumMore Fun?
Check out the SumMore Fun Store


Friday, December 22, 2017

Celebrate In Style


Merry Christmas, everyone! Today I'm sharing my take on the new Mood Board over on the SumMore Fun Blog.   The whole idea of this card is celebrating the new with the clocks, champagne bubbles and of course, celebrating in style. Does everyone dress up for New Year's Eve Parties? 

 Here's the mood board, remember you can be inspired by the photos or the color palette. 

How To
  • Stamp Clock Minutes image on Neenah #110 cardstock using Distress Ink in Antique Linen and Picked Raspberry and Black Soot
  • Let dry completely ( I used my heat gun to speed things along)
  • Once dry, I lightly go over stamped image with an anti-static bag, then stamp bubbles using Perfect Pearls Medium and add Gold Perfect Pearls, set aside to dry while cleaning up. 
  • Lightly sweep off any remaining pearl powder with a brush and/or cloth.
  • Stamp Celebrate In Style sentiment in center of clocks and on die-cut banner
  • Layer on gold foil paper using fun foam, layer gold foil on black cardstock onto black and white striped paper adhered to 4.254" x 5.5" card base
  • Finish off with gold enamel dots

Now it's your turn! I can't wait to see your take on this gorgeous mood board. 


You can also find SumMore Fun here:


Friday, November 24, 2017

Merry and Bright + SumMore Fun Mood Board #16 Inspiration


Happy Friday, welcome back! Today I'm sharing my take on the new Mood Board over on the SumMore Fun Blog. 


 Here's the mood board, remember you can be inspired by the photos or the color palette. I really love the colors for Christmas and they seem to be very popular this year.


How To
  • I used silver with white polka dots patterned paper but you could substitute what you have on hand
  • Create mask by stamp VO Polka Dotted Christmas Tree on post-it note and fussy cut
  • Using Memento Ink - Rose Bud stamp first tree in center of white cardstock, let dry, and cover with mask, stamp teal and silver trees, let dry
  • Adhere silver cardstock to a 5.5" x 4.25" top fold cardbase 
  • Using fun foam adhere stamped panel on top of silver cardstock
  • Stamp sentiment using Versafine Onyx Black ink (sentiment is from my stash)


You can also find SumMore Fun here:


Friday, November 17, 2017

Happy Holidays


Hi and welcome back. Today I'm over on the SumMore Fun Blog sharing a few Happy Holiday cards featuring the Raisin Boat - Treemendous Stamp Set. I love stamp sets that give you loads of creative options and this one does not disappoint. 


Both cards are super simple, stamping with your favorite color inks and layering on patterned paper, easy peasy. You can use whatever color ink best matches your background paper. My favorite inks right now are Memento Inks, I've been using Memento for years and they never fail me.

Memento Dew Drop 12 Pack of Inks


 Raisin Boat Clear Stamps  Treemendous

You can also find SumMore Fun here:

Be sure to join our current mood board challenge

Tuesday, November 14, 2017

Masculine Happy Holidays


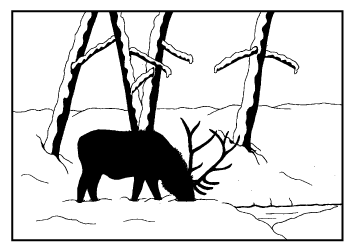
Hi and welcome back. Today I'm over on the SumMore Fun Blog sharing a masculine Holiday card. Let me start out by saying, I was really not feeling the Elk Silhouette In Snow Stamp BUT I grew to love it. Hey, I'm just keeping it real! It had nothing to do with the stamp and more to do with me. If you look at previous post by me you will soon understand what I am saying.  I think this is one of the best masculine cards to date for me and it's really not that complicated. 


The first thing I did was stamp the snow globe, color with COPICs and fussy cut the bottom out. I stamped the snow globe again on white cardstock with Gray Flannel Memento Ink, colored the base of the snowglobe dark gray, masked the globe with post-it's, stamped the elk image using Distress Oxide ink - Faded Jeans. Add 3D mounting foam to the cut-out base of the snowglobe and position over stamped base. Add sequins to give it a faux shaker card look and it gives that beautiful shimmer all snowglobes have. Add patterned paper, layer vellum behind stamped image and adhere to patterned paper on cardbase. Stamp sentiment with VersaMark Ink and heat emboss using silver embossing powder.


 Elk Silhouette In Snow Stamp


Memento Dew Drop 12 Pack of Inks


You can also find SumMore Fun here:

Be sure to join our current mood board challenge


Friday, October 27, 2017

Bounties Of the Season

Happy Friday and welcome back, everyone! Today is the start of a new mood board on the SumMore Fun Challenge Blog. Be sure to hop over and check out all the amazing projects by the Design Team and enter for a chance to win a $20 GC to the SumMore Fun Store. Double that if you use Victorine Originals and/or Raisin Boat products.


HOW TO
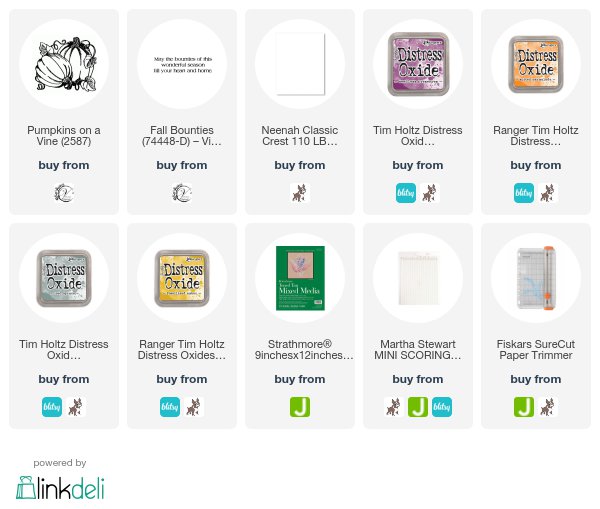
  • Using Distress Oxide Inks in Spiced Marmalade, Iced Spruce, Fossilized Amber, Seedless Preserves randomly stamp Pumpkins On a Vine, let dry; center oval die-cut and run through machine( save oval cut-out to use on a tag or another card); die-cut banner and stamp Fall Bounties sentiment using Distress Oxide Seedless Preserves.
  • Cut a piece of gold foil paper to go behind stamped paper and adhere( I purchase large pieces at HL near the framing dept. and cut it down)
  • Starting with 5" x 5" top fold cardbase, adhere stamped Strathmore paper to cardbase
  • Using 3D moutning foam adhere die-cut banner left center of oval
  • I use my mini scoreboard and emboss stylus to create the border around the stamped paper

As always thanks for stopping by!