Showing posts with label Balloons. Show all posts

Monday, July 15, 2019

Rainbow Balloons

Follow my blog with Bloglovin


Hi and welcome! How many nesting die sets do you own? And how often do you use the largest die in those sets? I was determined to start using those dies for my cards. The answer staring me in the face this whole time. If I die-cut one 6x6 piece of paper with a large die then cut it down the middle, I could not only use my large dies, but I could get two cards out of that one cut. 


I have a short video that walks you through the process of the "Rainbow Balloon" cards below.


Walk Through

  • Die-cut patterned paper using large balloon die (it can be any large die you have), cut in half (long-length) with a paper trimmer.


For the balloon cards, I created an ink-blended background of clouds.
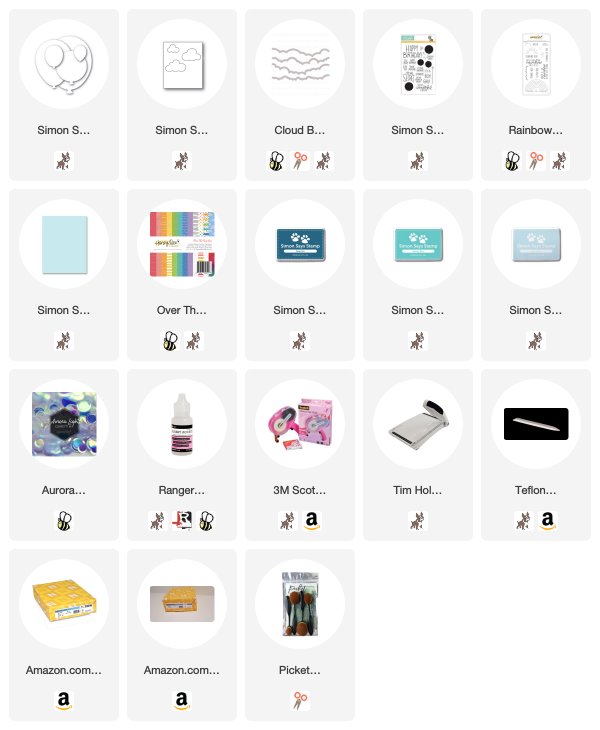
  • Place a stencil on a 4.25" x 5.5" card panel, add ink to blender brush(tool), with light pressure start applying the ink. I swiped the blender brush in an upward motion because this is printer paper and circular motions will bend the edges of the printer paper. I used Simon Says Stamp Ink in the colors Deep Sea, Audrey Blue, and Sea Glass. Die-cut or use your paper trimmer to cut the card panel down to 3.75" x 5." 
  • I created a stencil using the Honey Bee Stamps Cloud Borders Dies and printer paper.
  • Stamp Hugs, Kisses and Rainbow Wishes on one panel and Happy Birthday on the other making sure to stamp one on the left side and the other on the right side, the balloons will be on the edge of each card.
  • Die-cut or use a paper trimmer to cut  Sea Glass Cardstock to 4" x 5.25"; layer ink-blended backgrounds onto using a tape runner, adhere layered pieces to a 4.25" x 5.5" top fold cardbase. 
  • Add 3D mounting foam to the back of each balloon and tie a silver thread to the neck of each balloon allowing the thread to loop around the edges of the balloons adhering itself to the 3D mounting foam.
  • Adhere balloons to the edge of each card 
  • Die-cut small clouds using the Simon Says Stamp Picture Book Sky Background die, add 3D mounting to the clouds and adhere to cards. 
  • Finish off the cards with Honey Bee Stamps Carousel Lights Confetti.


Okay, I'm off to use those large dies! I hope you'll give this a try some time. 

I've entered the cards into a few challenges:


As always, thank you for taking the time to join me. 


Be sure to follow me on 


Be sure to check out my website, LisaMensing.com
Sunday, April 10, 2016

Field Goal Birthday with Craftin Desert Divas


Welcome, welcome! Today sharing a fun football themed
Birthday card using the new Wishful Thoughts Stamps and Dies. 

This is a picture of a Football Birthday card featuring Craftin Desert Diva products

This is a picture of a Football Birthday card featuring Craftin Desert Diva products

I love cards that allow you to showcase your papers. This paper from the Touchdown Paper Pad paired perfectly with the new Wishful Thoughts Stamps, Wishful Thoughts Dies, and Party Dies.


Here are the products I used:


Doodlebug-Touchdown Double Sided Paper Pad. The perfect start to your scrapbooks, cards and more! This pad contains twenty-four 6x6 inch double-sided sheets in twelve different designs (two of each design). Acid and lignin free. Made in USA.


Join me on my blog for all the details!

As always, thanks for joining us today!
 And remember you can also find us at

Be sure to visit my Facebook Page,too!
In The Crafting Cave with Lisa


&

Need inspiration? Be sure to follow us on
Pinterest


Saturday, April 2, 2016

Happy Birthday! with Craftin Desert Divas


Hi and welcome, everyone! Today I'm sharing a Birthday card I made using the Craftin Desert Divas Party Die Set. 
This die set is one to have in your arsenal, you can do so much with it.


So to create this fun card I used Sugar Shoppe 6 x 6 Paper Pad, Fancy Frame Dies,  Love Matte Assortment Sprinkles, white cardstock, black cardstock, and Party Dies.
I worked with three patterns die-cutting 5 balloons, 3 candles, and 1 present layering them
on white cardstock with 3D Foams.  To finish it off I tucked a few sprinkles around the balloons. 

Easy Peasy! 


Here are the products I used:


Sugar Shoppe Paper Pad


Love Assortment Matte Sprinkles Embellishment

Is your paper craft project looking a little flat? Try these! They are great for layering or just adding a little dimension. This package contains 126 1/2in high density, acid free, archival safe, permanent, acrylic based, lignin free, PAT tested white 3D 1/16 thick foam squares.


As always, thank you for stopping by!


SUPPLIES:


Friday, April 1, 2016

Happy Birthday! with SVG Attic


Hi and welcome, everyone! Today I'm over on the SVG Attic with this Birthday Box card from the SDS Birthday Bash Collection. 


I created this Birthday Box card using 12 x 12 pink cardstock, Doodlebug Sugar Shoppe 6 x 6 Paper Pad, black cardstock, and few sequins. This card is great for when you're in a hurry. 


This couldn't be any easier. 


As always, thanks for joining us and
have a great weekend!

Need inspiration? You can find us on 

And be sure to join us on Facebook,
