Showing posts with label Fall. Show all posts

Friday, October 12, 2018

Chunky Pumpkins


Happy Friday and welcome back, everyone! Today I'm over on the SVG Attic Blog sharing these amazing Candle Stands and 3D Chunky Pumpkins can be found in the SnapDragon Snippets Online Store

The Bow Wide is by SnapDragon Snippets and can be found in the Silhouette Design Store, Design ID #37447.


Using Speckletone Madero Beach 12 x 12 paper I cut the three Candle Stands and assembled. Using Distress Oxide Ink - Old Paper to distress the edges and accents on the Candle Stands. 

Using the same Madero Beach paper, Paper Bag 12 x 12 paper and Kraft 12 x 12 paper in the shade Paper Bag I cut the 3D Chunky Pumpkins, using Parcel Wrap 12 x 12 I cut the pumpkin stems, leaves, and vines. 
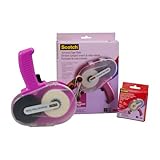
I use Scotch Quick Dry Adhesive to assemble all the projects above.

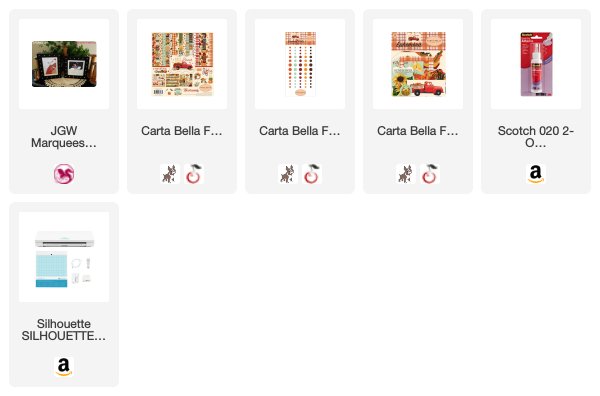
Using Carta Bella Hello Fall 12 x 12 papers to cut all the accents and bows. 

The candle stands are easy to assemble but you need some time, so keep that in mind. They are totally worth the 2 hours I invested to create these gorgeous decorations for the center of my table. 


As always, thanks for joining us! 
New to SVG Attic? Check out these awesome places!
SnapDragon Snippets 


Friday, August 17, 2018

Hello Fall!


Happy Friday! Today I'm over on the SVG Attic Blog sharing a few "framed" Fall pictures. I'm determined to use my new paper this year and this just worked! I have to confess that when I started this project I had BIG plans to embellish them to the nines but then something happened. I stood back and looked at them. No matter what I did I could not bring myself to pile the embellies on. 


I'm telling you, this project is super simple, the frames have a nice size to create a fun grouping for any occasion or holiday. I used this last year for Halloween and paired it with the Witch Hat 3D Bow Rocker Card, super cute. You can find it here


Here you can see the dimensions. Best part, all you need is a thumbtack to hang them. If you want to set them on a table or shelf I would recommend a small paperweight behind them. 


To create this project you need JGW Marquees found in the Snapdragon Snippets Online Store and your favorite Fall-themed patterned paper. Don't have patterned paper, no worries. Use solid cardstock with a few Fall-themed cut files from the online store to create your own take on this project. Either way, give it a try. 

As always, thanks for joining us! 

Friday, November 3, 2017

Thank You


Hi and welcome back. Today I'm taking over the SumMore Fun Blog and sharing a simple Fall Thank You card featuring this fantastic Thank You (2873-J) stamp. I love big sentiments, especially, when you are in hurry. 


This card is so easy I almost feel silly telling you how to create it. Stamp the sentiment onto white cardstock using Memento Ink - Rich Cocoa. Add patterned paper to a 4.2" x 5.5" top fold cardbase, add 3D mounting foam to back of stamped sentiment and adhere to card front. Finish off with enamel dots or any embellishment of your choosing. 


You can also find Victorine Originals here:


Be sure to join our current mood board challenge. 

Anything But A Card


Hi and welcome back, everyone! Today I'm sharing my inspiration for the new
CAS-ual Fridays Challenge - Anything But A Card.


How To
  • Using Echo Park Paper A Perfect Autumn 6x6 Paper Pad die-cut tags, die-cut acorn
  • Run burlap through Xyron leaving the backing on, die-cut large scallop tag, top of acorn and leaf
  • Stamp images from the Autumn Blessings onto burlap tag using Memento Inks
  • Stamp sentiment Thanksgiving Blessings onto tags using Memento Ink
  • Stamp sentiment Greetings onto pattern paper using VersaMark Ink, heat emboss using Gold Embossing Powder
  • Assemble acorn and add burlap top, add 3D mounting foam and adhere to tag, add twine and tie
  • Using alcohol ink color leaf, let dry, add 3D mounting foam and adhere to tag, add twine and tie
  • Assemble burlap tag, add twine and tie


As always, thanks for joining me today. 

Wednesday, October 4, 2017

Pumpkin Spice In My Latte


Hi and welcome, everyone! Today I'm over on the Drive By Crafts Blog sharing a little Pumpkin Spice Latte with you. 


PRODUCTS


How To
Die-cut kraft cardstock and two pattern papers with stitched circle dies, creating a frame with one of the pattern papers and 4.25" x 5.5" pattern paper to create window(plaid paper shown above)

Using a stamping tool, stamp Pumpkin Spice on kraft paper using Distress Oxide Inks, stamp sentiment on frame using black ink

Add twine and adhere plaid paper using fun foam; inlay Kraft cardstock in plaid paper; add frame and finish off with enamel dots


As always, thanks for joining us today! 
As always, thanks for joining us today!
Be sure to join us on:

Friday, September 16, 2016

Have A Mice Day!


Welcome, everyone! Today I'm on the Craftin Desert Divas Blog bringing you the daily post.
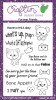
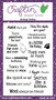
So, as soon as I received the new Flea Market paper pad I knew I had to use this cute little mouse from the Craftin Desert Divas Animal Antics Stamp Set along with the Have A Mice Day sentiment from the Fur-ever Friends Stamp Set.


I used Cloud Nine Washi Tape and Fall Flurry Washi Tape over white cardstock and die-cut with 
Flag Banner Dies. It's a great way to add fun elements to your projects. 

ASSEMBLE:
4.25" x 5.5" white #110 cardstock

LAYERS:
Die-cut plank background paper with largest Crazy Stitched Die
Die-cut mason jar paper with Tag Shaker Dies
Add Cloud Nine and Fall Flurry Washi Tape to scrap white cardstock
Die-cut with Flag Banner Die ( both Washi Tapes and one plain for stamping sentiment)

STAMP:
Stamp sentiment using Versafine Onyx Black ink
Stamp mouse using Memento Tuxedo Black straight on plank paper
Add a touch of color with C3 and R01 COPICS

ASSEMBLE:
Layer plank paper onto the white card base, add 3D mounting foam to the back of tag die-cut and arrange window over stamped image, layer banners over the tag, add 3D mounting foam to sentiment banner and adhere to other banners, finish off with enamel dots and tie twine on the tag.


Here are the products I used:


As always, thanks for joining us today!