Happy Saturday, everyone! Yesterday I was finally able to get crafty with a few new products from
Simon Says Stamp. When I first saw the Choose Joy Kit I immediately ordered it and couldn't wait to use it. I'm just going to let the pretties speak for themselves today.
I'm going to walk you through the cards one by one and then list all the products I used below.

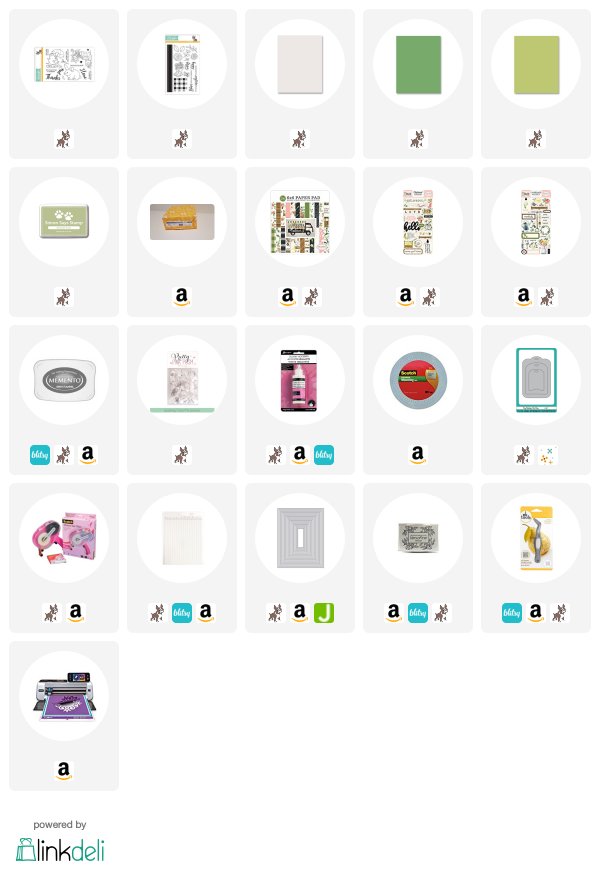
Out of the four projects in this post, this is my favorite! If you follow me, you know how much I love creating my own backgrounds using stamps. Whether it's repeating sentiments, like above, or using images, I love creating backgrounds. Stamping this sentiment background was so easy using Memento Ink in Gray Flannel on #110 Neenah Classic Crest Solar White cardstock. Each time I stamped the sentiment I inked the stamp once and stamped it once. I didn't worry about perfection with this, it was the look I was going for and I just eyeballed it, no stamp positioning tool required for this one. Die-cut 6x6 patterned paper from the Carta Bella Spring Market Paper Pad using CAS-ual Fridays Tag Fri-Dies, add May Arts Natural Twine to the tag and adhere to the front of card base. Using the gorgeous watering can and fresh flowers stickers from the coordinating Spring Market Large Sticker sheets, add 3D mounting foam to the back of the stickers, before removing the backing on the mounting foam, go around the mounting foam, touching sticker, using an anti-static powder tool to get rid of any adhesive not covered by foam. Then remove the backing from the mounting foam and adhere stickers over tag like shown above. Gorgeous and oh, so easy!

For the card above I stamped those adorable rain boots onto #110 Neenah Cardstock and colored with COPICs. N9, N7, N5, N3, N1 on the boots, E33, E35, E37 for the dirt, R30, R32, and R35 for the blooms, YG61, YG63, and YG 67 for leaves, Y17 on the smallest flowers. I used my Scan N Cut to cut the rain boots out and added 3D mounting foam to the back of them. I die-cut a piece of the Carta Bella Spring Market 6x6 Patterned Paper. stamped the sentiment using Versafine Onyx Black Ink and adhered to an SSS Cream pre-cut, pre-scored card base.

As you probably noticed this is one of my favorite patterned papers from the Carta Bella Spring Market Collection. This is one of my favorite ways to create cards, using coordinating stickers. It's fast and easy, no guesswork involved.
This card comes together fast by picking a few stickers from the Carta Bella Spring Market Large Sticker Sheet. I loved the rake immediately and knew I had to use it. So I paired it with the small flower pot and tag stickers. I add 3D mounting foam to the back of my stickers, before removing the backing from the mounting foam, I use an anti-static tool to hit any adhesive not covered by the mounting foam. I die-cut the 6x6 patterned paper using SSS Stitched Rectangle Die, stamp my sentiment using Versafine Onyx Black Ink straight to patterned paper. Die- cut the Green Apple cardstock using Hero Arts Nesting Rectangle Dies, adhere to a 4.25"x5.5" top fold #110 Neenah card base. I finished it off with Pretty Pink Posh Clear Sequins.

Here I used the Bunny from the SSS Showers and Flowers Stamp Set and used my Scan N Cut to cut the image out. I colored the bunny with COPICs W00, W01, W03, W05, and R21 on his nose and added 3D mounting foam to the back.. I die-cut more patterned paper from the 6x6 Carta Bella Spring Market Pad using CAS-ual Fridays Tag Fri-Dies and stamped the sentiment from the same stamp set using SSS Beanstalk Green Dye Ink, adhere bunny to tags as shown above. I also die-cut the small box using a Sizzix Scalloped Gable Box Die and SSS Leaf Green cardstock and assembled with 3M Scotch Quick Dry Adhesive and binder clips. I always use binder clips when assembling 3D projects so that my hands stay free and are continually working. Once the box is dry I add the tag with May Arts Natural Twine.
The gold polka dots are rub-ons I found last year in the $1 Bins in Target.
Thanks for joining me today!
Unfortunately, the SSS Showers and Flowers is currently out of stock but you can be notified when it's available by going here and clicking the notify me text.
Please note that some of the links below are affiliate links, and at no additional cost to you, I will earn a commission if you decide to make a purchase after clicking through the link. Please understand that I have experienced all of these companies, and I recommend them because they are helpful and useful, not because of the small commissions I make if you decide to buy something through my links. Please do not spend any money on these products unless you feel you need them or that they will help you achieve your goals.