Showing posts with label 4th of July. Show all posts

Monday, July 1, 2019

One Stamp, Four Ways


One Stamp, Four Ways

Hi, and welcome! The inspiration for today's post comes from the need to create a 4th of July card and not having individually themed stamps for that. Now, this is not new to me, but I thought it might be helpful for a new cardmaker with limited supplies, or maybe, you just want to stretch the use of your stamps.

HOW-TO VIDEO


STEP BY STEP TUTORIAL
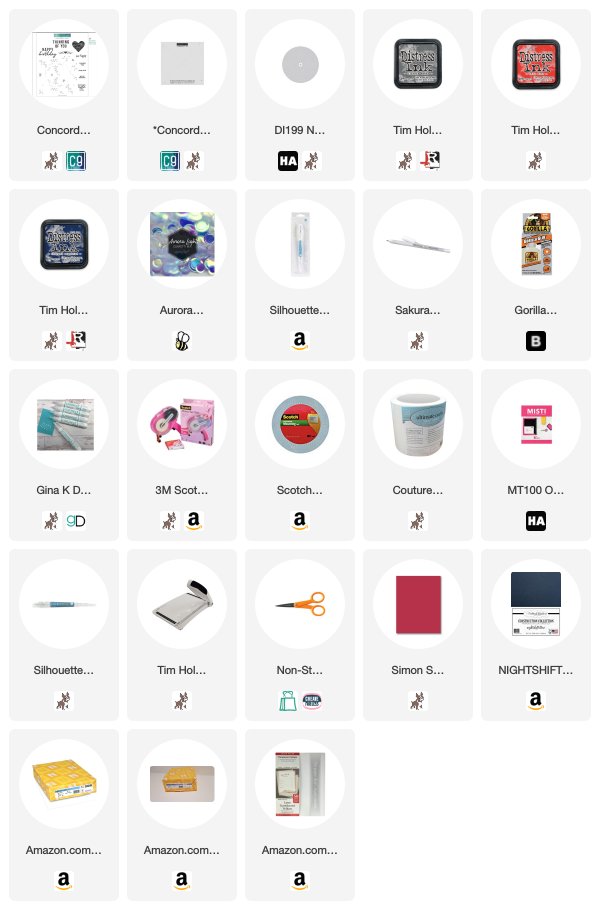
A few things you should know before starting; I used Distress Inks,, but you use what you have available to you, I used a jig purchased from Concord & 9th, but you can easily make one, and a stamp positioning tool makes life a little bit easier! I used a 5.5-inch cardbase.
  • Align stamp using alignment aid, pick-up the align stamp with the lid of you stamp positioning tool, remove alignment aid, add repositionable tape to the back of #80 cardstock, adhere to a jig.
  • Using Distress Inks in the colors Chipped Sapphire, Barn Door, and Hickory Smoke for this card.
  • Ink stamp, stamp it, turn the jig once, clean the stamp and repeat the process up to three more times.
  • Die-cut the center of stamped panel using a 3-inch round die-cut, die-cut the 4th using Simon Says Stamp Big Numbers dies and Schoolhouse Red cardstock backed with double-sided adhesive, cut a small strip of navy cardstock at least 4-inches long, width is personal preference.
  • Print "happy of July" onto Strathmore Laser Transculent Vellum using Copperplate Gothic Light Font
  • Add 3D mounting to the back of the stamped panel, dry-fit the panel on cardbase, use a pencil to add light tick marks at the top and bottom positions to make centering the printed sentiment easier, once you're happy with the placement, adhere the printed vellum to the cardbase
  • Using Gina K Connect Glue center the navy strip to the back of the stamped panel; centered on the round window, add the four over the navy cardstock.
  • Using a gel pen add details to the 'TH' and then adhere to the navy strip alongside the four 
  • Add three sequins using clear adhesive.

Here are three more samples using the same stamp set, creating a Valentine, St. Patrick, and Christmas card. 


 The 4th of July card is my favorite but the St. Patrick's is 2nd runner up. 


As always, thank you for taking the time to join me. 

For more inspiration on getting the most out of your stamps, check out this blog post


Be sure to follow me on 


Friday, July 1, 2016

Celebrate!


Happy Friday, everyone! I'm up on the Craftin Desert Divas blog with the daily post for you.  
Today, I'm sharing a red, white, and blue themed card using the Banner Dies, Flag Banner Dies, and Across The Border Stamp Set.  If you are new to shaker cards starting small is a great way to go.

Here's what I created:

Celebrate red, white, and blue shaker card

I created the streamers by stamping the "Celebrate" sentiment from Say It Big Stamp Set with Versafine Onyx and stamping red polka dots using Across The Borders Stamp Set with Stampin Up Real Red then die-cutting with Flag Banner Dies.

To create the shaker, I die-cut the oval and star from the Banner Dies, added mounting foam and acetate from the Shaker Bundle #1 kit and Fairy Dust Sequins.

 To create the card base I die-cut white cardstock and kraft cardstock using the Banner Dies and layered.


Celebrate red, white, and blue shaker card


Click here for products:
http://craftindesertdivas.com/say-it-big/

5x7

http://craftindesertdivas.com/banner-dies/


http://craftindesertdivas.com/flag-banner-dies/


Shaker Bundle #1 includes: 10 - 6x6 acetate sheets 1 yard - Scotch permanent mounting tape

http://craftindesertdivas.com/fairy-dust-sequins/

Be sure to join me on Facebook.
In The Crafting Cave with Lisa

As always, thank you for stopping by.


Sunday, June 26, 2016

Vintage Red, White and Blue


Hi and welcome, everyone! Lisa from In The Crafting Cave bringing you today's Craftin Desert Divas daily post and it's all about the die-cuts. I love die-cuts because you can create so many amazing things with a few basic die-cuts. Here's just one way to mix your die-cuts to create a vintage look.

Vintage Patriotic Greeting Card with Die-Cut Banner and Red, White and Blue Stars

Using the Crazy Stitched Frame Dies(largest) I created the blue and beige base, using the Mix It Up Die Set I cut the banner(red), and the Banner Die Set has the star die-cut, using vintage papers along with the die-cut makes this card is quick and easy. I finished the card with a few red enamel dots and layered onto kraft and beige cardstock.
Some times, you just have to keep it simple and let the die-cuts and paper do the work for you.


Here are the products I used:

http://craftindesertdivas.com/banner-dies/


http://craftindesertdivas.com/crazy-stitched-frame-dies/

http://craftindesertdivas.com/mix-it-up-dies/

http://craftindesertdivas.com/love-assortment-matte-sprinkles-embellishment/


As always, thank you for stopping by!
And don't forget you can find us at
Craftin Desert Divas Blog
Craftin Desert Divas Shop 
Craftin Desert Divas Facebook Gallery