Hi, and welcome! Today I'm sharing a card created with the Tropical Vibes Stamps and Dies along with a few other products you can find listed below. Have you ever made something and thought to yourself, this is my thing? Well, I've decided black and white backgrounds are my thing. There's something about the way it makes everything come to life. Anyway, I hope you like it as much as I do.
VIDEO TUTORIAL
WALKTHROUGH
Stamp turnabout stamp using Versafine Onyx Black ink.
Die-cut the "good vibes" sentiment in gold glitter.
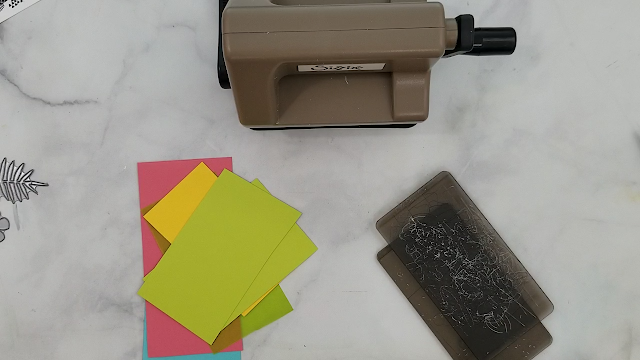
Die-cut three more layers using white cardstock, I used Couture Creations DieCut N Bond before die-cutting to make stacking easier. You only need to peel the back off the adhesive and stack.
Die-cut one piece of Vellum and one piece of turquoise cardstock using a circular die. (size personal preference)
I glued the gold glitter to the white cardstock. Only because I didn't add the DieCut N Bond adhesive
(I wasn't thinking) Add the stacked "good vibes" to the die-cut Vellum
Using a 3D mounting foam adhere the Vellum to the turquoise cardstock.
Die-cut six of the palm leaves (vary the sizes) using green cardstock, cut two frond palm leaves using green vellum, cut flowers using pink and yellow cardstock.
Cut the stamped panel down to a 5.25" square. Cut all four sides to keep the pattern balanced.
Center stamped panel on a 5.5" square card base.
Arrange die-cut pieces and glue in place. Use 3D mounting on the flower to pop them up off the cardbase.
Add a few sequins and call it a day! Super simple.
Thanks for joining me.
I hope you are inspired enough to head to your crafty space and create something amazing today!
Be sure to head over to the website and become a subscriber, so you have access to my videos before they are published to the public. Did you know that every time I send an email to my subscribers a name is picked from my active subscribers to win a little something?


No comments:
Post a Comment