Showing posts with label Back To School. Show all posts

Friday, August 3, 2018

Back to School


Hi and welcome, everyone! Today I'm over on the SVG Attic Blog sharing a fun Back to School project featuring the cupcake holder from the Sweet Shop Collection*. This is one of my favorite Collections from SVG Attic, I love this cupcake holder because as you will see you can use it for many occasions. Today I'm sharing how I converted it into a little red school house perfect for a Back to School gift with supplies. 


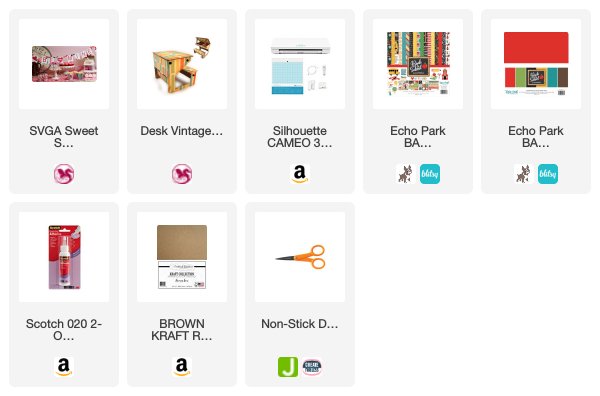
When I started this project my intention was to create the school house and then add a few supplies, crayons, pencils, erasers and snacks inside. Of course, as I started creating I decided my school needed a cute desk and knew exactly where to find one, the JGW Campus Capers has this adorable Vintage Desk Gift Card Holder* included in it. I sized the desk down a bit because I knew I wouldn't be adding a gift card. 

I started with red 12 x 12 cardstock to create the cupcake box, white cardstock to create the shutters with black cardstock accents.  I used kraft cardstock for the desk and then added accent pieces using the new Echo Park Paper Back to School. 


I didn't want the school supplies just laying inside so I created two side walls by measuring the side sections of the box, creating rectangles with those measurements and adding tabs to the sides to secure the "walls" in place. This created the perfect spot to hide the supplies but leaving me enough room to decorate the inside of the "classroom". 


Class is not complete without a blackboard. I cut a piece of black cardstock and framed it using the wood grain patterned paper from the Back to School kit. I also added stickers from the same kit. 
To create the blackboard cut a piece of black cardstock, using a paintbrush lightly brush white ink across the paper.


Using the same wood patterned paper I created shelves and lined them with fun stickers from the kit. 


I cut out a cute saying from the Back to School paper and used it like a bulletin board. 

 I added crayons, pencils, erasers and two packs of Fig Newtons. Small packs of tissue, a bottle of glue and scissors would be great additions. You could even slide a gift card in there. You could add so many fun things to this gift box to gift a student or teacher. No matter what you add or who you gift it to, I'm sure it will be appreciated. 


As always, thanks for joining us! 


 Some of the products I receive for free,those will be marked with an asterisk(*). All other products were purchased by me personally for this blog post. I may earn a small commission if you purchase items, at no extra charge to you, through the links listed below. I use the commission to buy more supplies, create more projects, and video tutorials.

Monday, August 8, 2016

Back To School + Photo Inspiration Linky Party


Hello, friends! The theme for this Linky Party at Craftin Desert Divas is "PHOTO INSPIRATION"! We would love to see all of your projects that fit this theme! So go ahead and craft it and link it up on the Craftin Desert Diva's Blog.

Every other Monday will mark the beginning of a new semi-weekly Linky Party over at the CDD blog. We hope you will share your projects with us! And don't forget about the prizes! Every Linky Party will have a winner and a Top 3! 
The more times you link up, the more chances you have to win!!

Our Sponsors for this Linky Party are:

One 4"x 6" stamp set
One Digi Stamp of choice

PHOTO INSPIRATION


Here are the projects I created:


YOU RULE


This card is super simple to create:

CARD BASE
Score an 8.5"x 11" piece of white cardstock at 5.5" and fold on the scored line.
Cut at 4.25" to create two tent fold card bases.

LAYERS
Using the solid black 6"x 6' card-stock from the Back To School Paper Pad, white ink, and Clarity Brushes to give chalkboard effect by adding white ink to brush and sweeping across black paper for horizontal streaks creating chalk lines. Let dry or dry with heat gun.
Die-cut the black (chalkboard) paper using the largest Fancy Frame Die, die-cut red cardstock using the smallest scalloped Fancy Frame Die.
Die-cut the Rolodex Card shape using the Pocket Pieces Hello Dies.
Die-cut ruler and pencil using the Beyond Measure Dies.

STAMPING AND COLORING
Using an acrylic block or stamping tool stamp your image onto the ruler and pencil die-cut and stamp sentiments onto Rolodex Card shape die-cut.
Color ruler and pencil.
E57 and E55 - Ruler
Y17, Y15, C7, C5, C3, RV95 and RV91 - Pencil

ASSEMBLING
Layer Kraft cardstock cut to 4.125" x 5.375" onto white card base, layer black die-cut onto Kraft, layer red die-cut onto black (offset), layer Rolodex Card shape onto red (opposite offset than red), add ruler and pencil using 3D Square Mounting Foams under pencil, and finish off with Primary Sprinkles


YOU COLOR ME HAPPY


CREATE LAYERS
Cut black cardstock to 4.125" x 5.375" with a paper trimmer.
Die-cut patterned paper using the largest Fancy Frame Die.
Die-cut Kraft cardstock using the second largest Fancy Frame Die.
Die-cut white card-stock from the smallest Fancy Frame Die rectangle.
Die-cut six crayons from the Beyond Measure Die set.

CREATE CRAYON BOX
Start with a 2.5W" x 2.25L" piece of yellow cardstock. 
Score the 2.5W" at 1/8", 1/2", 2", and 21/8" marks.
Turn paper to 2.25W' and score at 1.75" and 2" marks.
Cut the corners out according to the picture below. 
Fold on score lines to create the box and glue together.
Add a strong adhesive to the back on folds.


STAMPING AND COLORING
Using an acrylic block or stamping tool stamp the rocket and planet from the Adventure Land stamp set onto Kraft cardstock and color. I used Prisma Colored Pencils.
Stamp crayon image onto die-cuts and color. I used Zig Clean Color Real Brush Markers.
Stamp sentiment onto white cardstock and draw stick figures with crayons.

ASSEMBLING
Layer black cardstock onto the white card base, layer patterned paper onto black cardstock, layer Kraft cardstock onto patterned paper, attach yellow box, layer white cardstock onto the yellow box, arrange crayons, and add stars from the School Sprinkles.


Here are all the CDD products I used:


As always, thank you for joining us!
And don't forget you can find us at
Craftin Desert Divas Blog
Craftin Desert Divas Shop 
Craftin Desert Divas Facebook Gallery 

In The Crafting Cave with Lisa Facebook Fanpage
